
Common tasks
Step-by-step instructions for the things you’ll do most often with Link Extension for XFN.
Add relationships to an inline text link
Section titled “Add relationships to an inline text link”- In the block editor, select linked text (or select text and press Cmd/Ctrl+K to create a link).
- Click the link to open the popover and expand Advanced.
- Expand the XFN section.
- Pick relationships — one value each from Friendship, Geographical, and Family (they’re choose-one groups), plus any of met, co-worker, colleague, muse, crush, date, sweetheart, or me.
- Click Apply, then save the post.
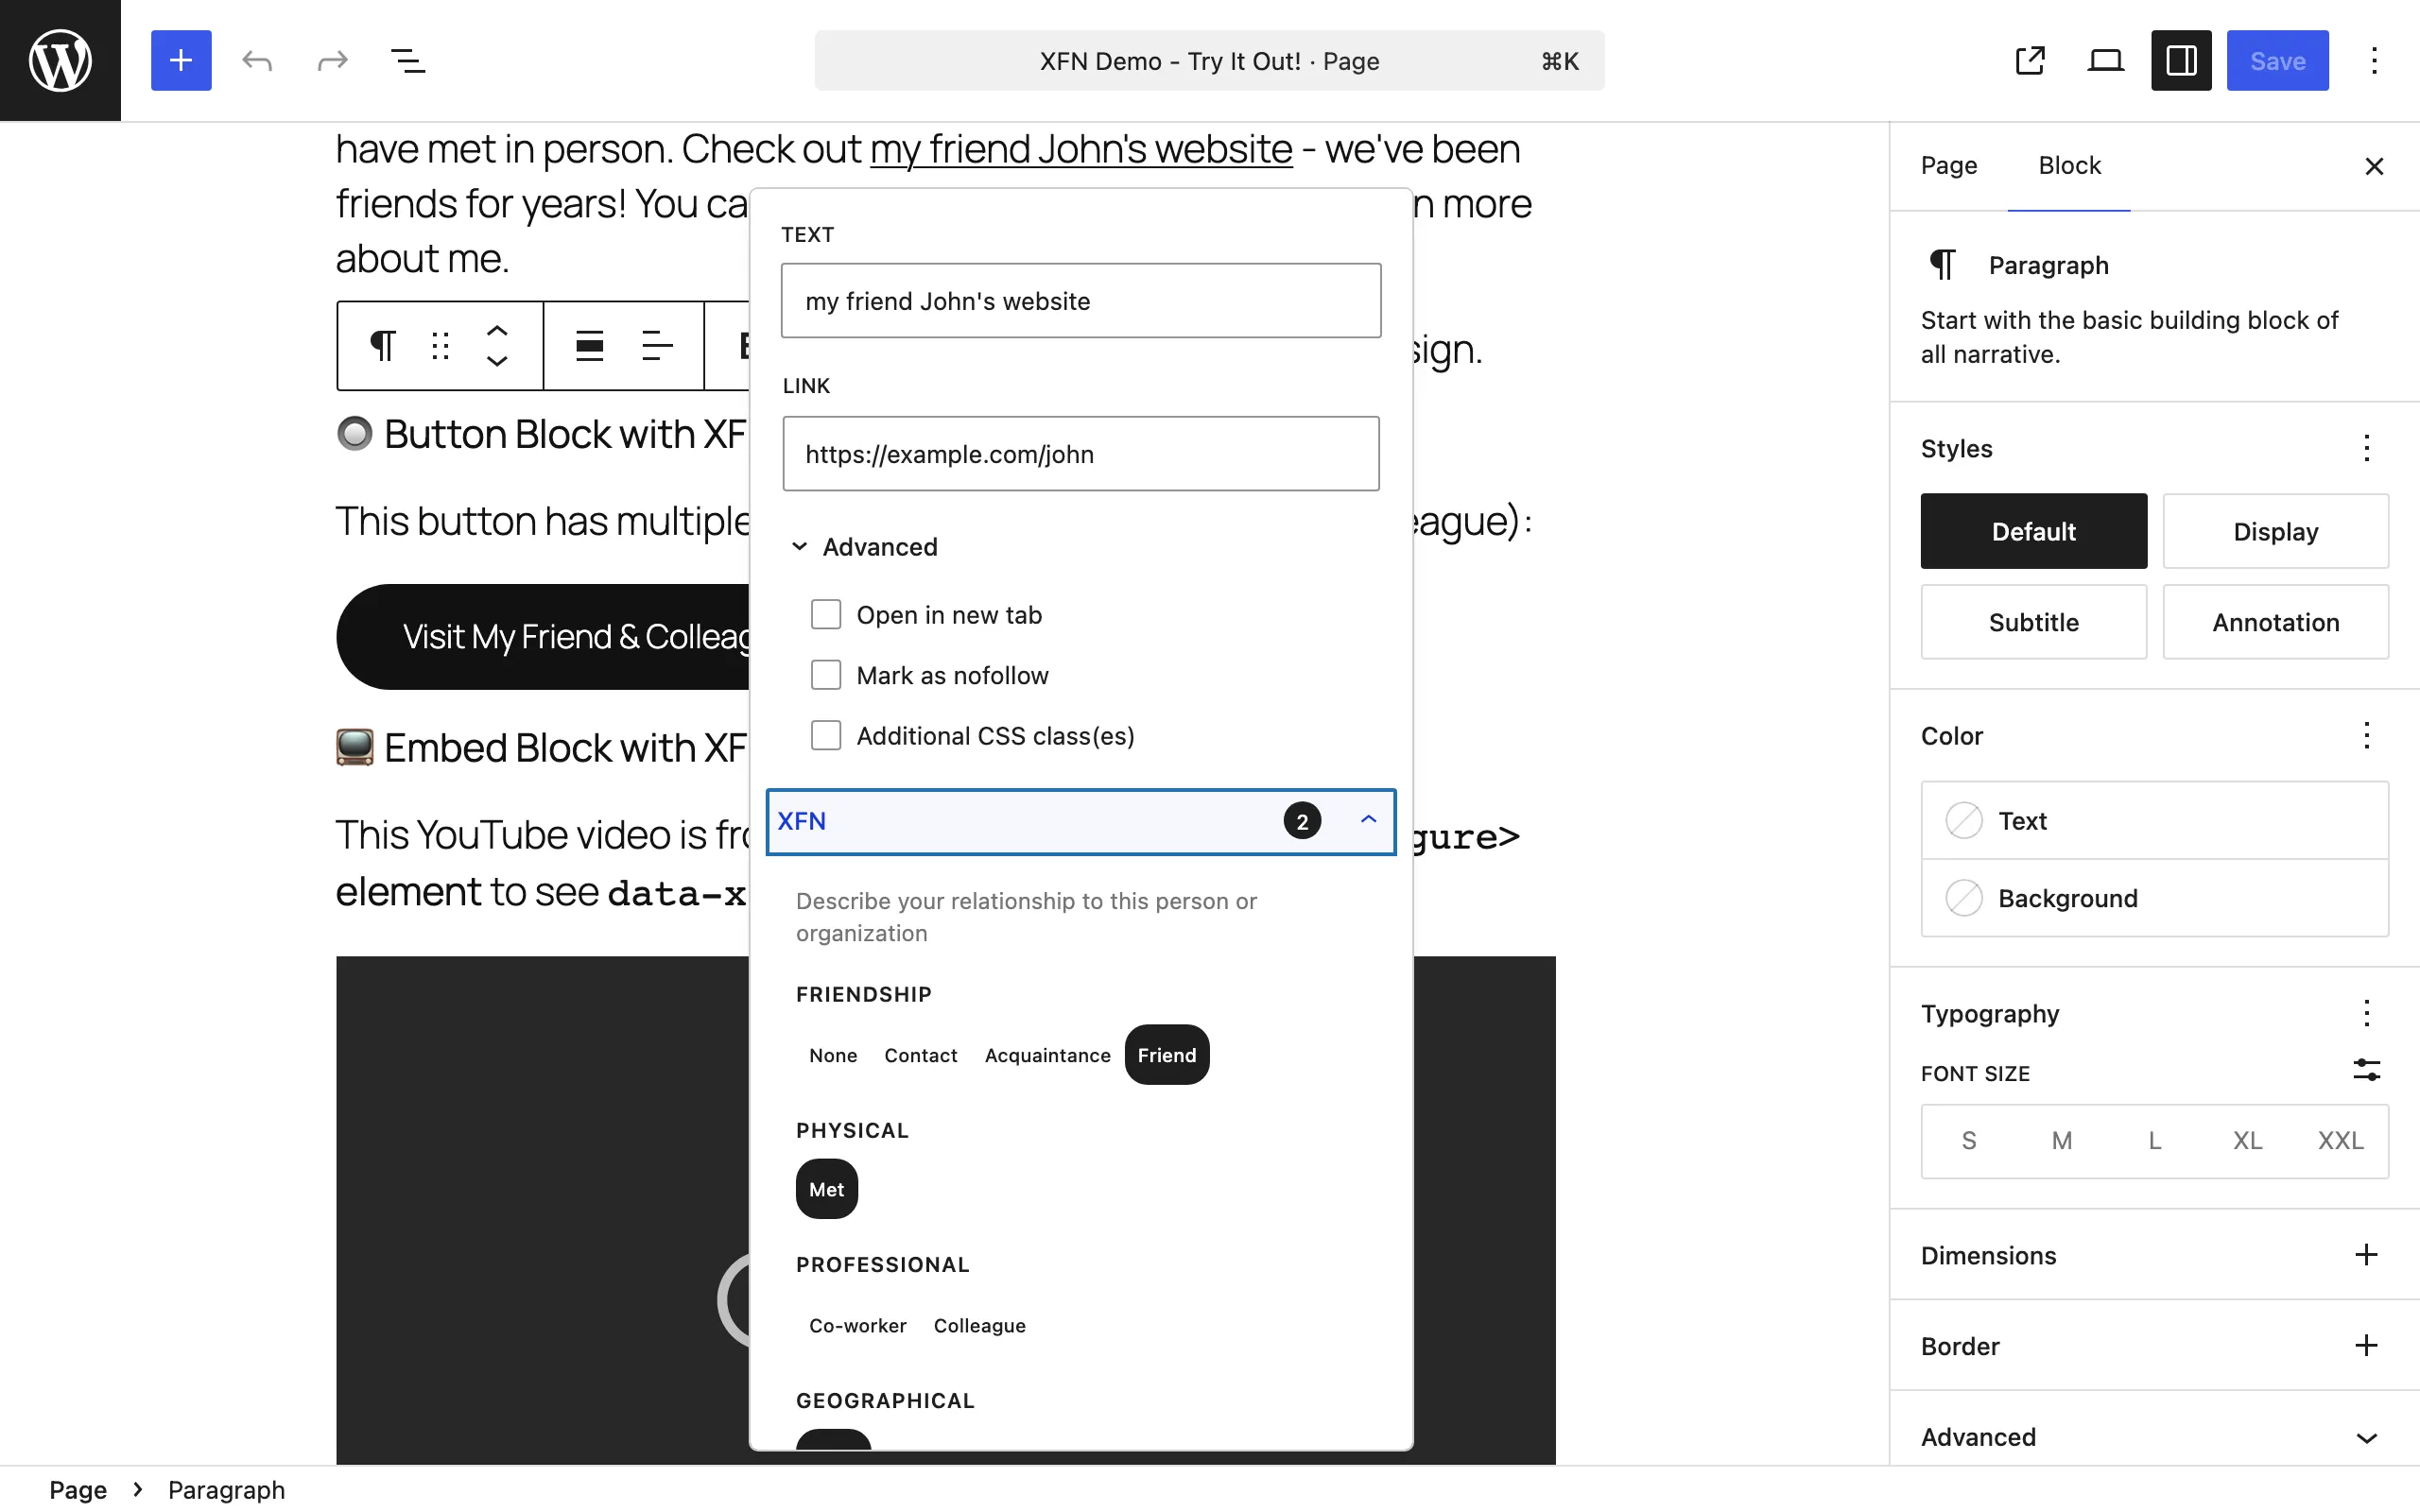
The values are written to the link’s rel attribute. Details: Paragraph links.
Add relationships to a Button, Image, or other block-level link
Section titled “Add relationships to a Button, Image, or other block-level link”- Enable the Inspector Controls panel first (next task) if you haven’t.
- Select the block — Button, Image, Navigation Link, Site Logo, Post Title, Query Title, or Embed — and make sure it has a URL set.
- In the right-hand sidebar, find the XFN Relationships panel (it opens by default for these blocks).
- Choose relationships using the radio and checkbox groups; the selected values show as pills.
- Save the post.
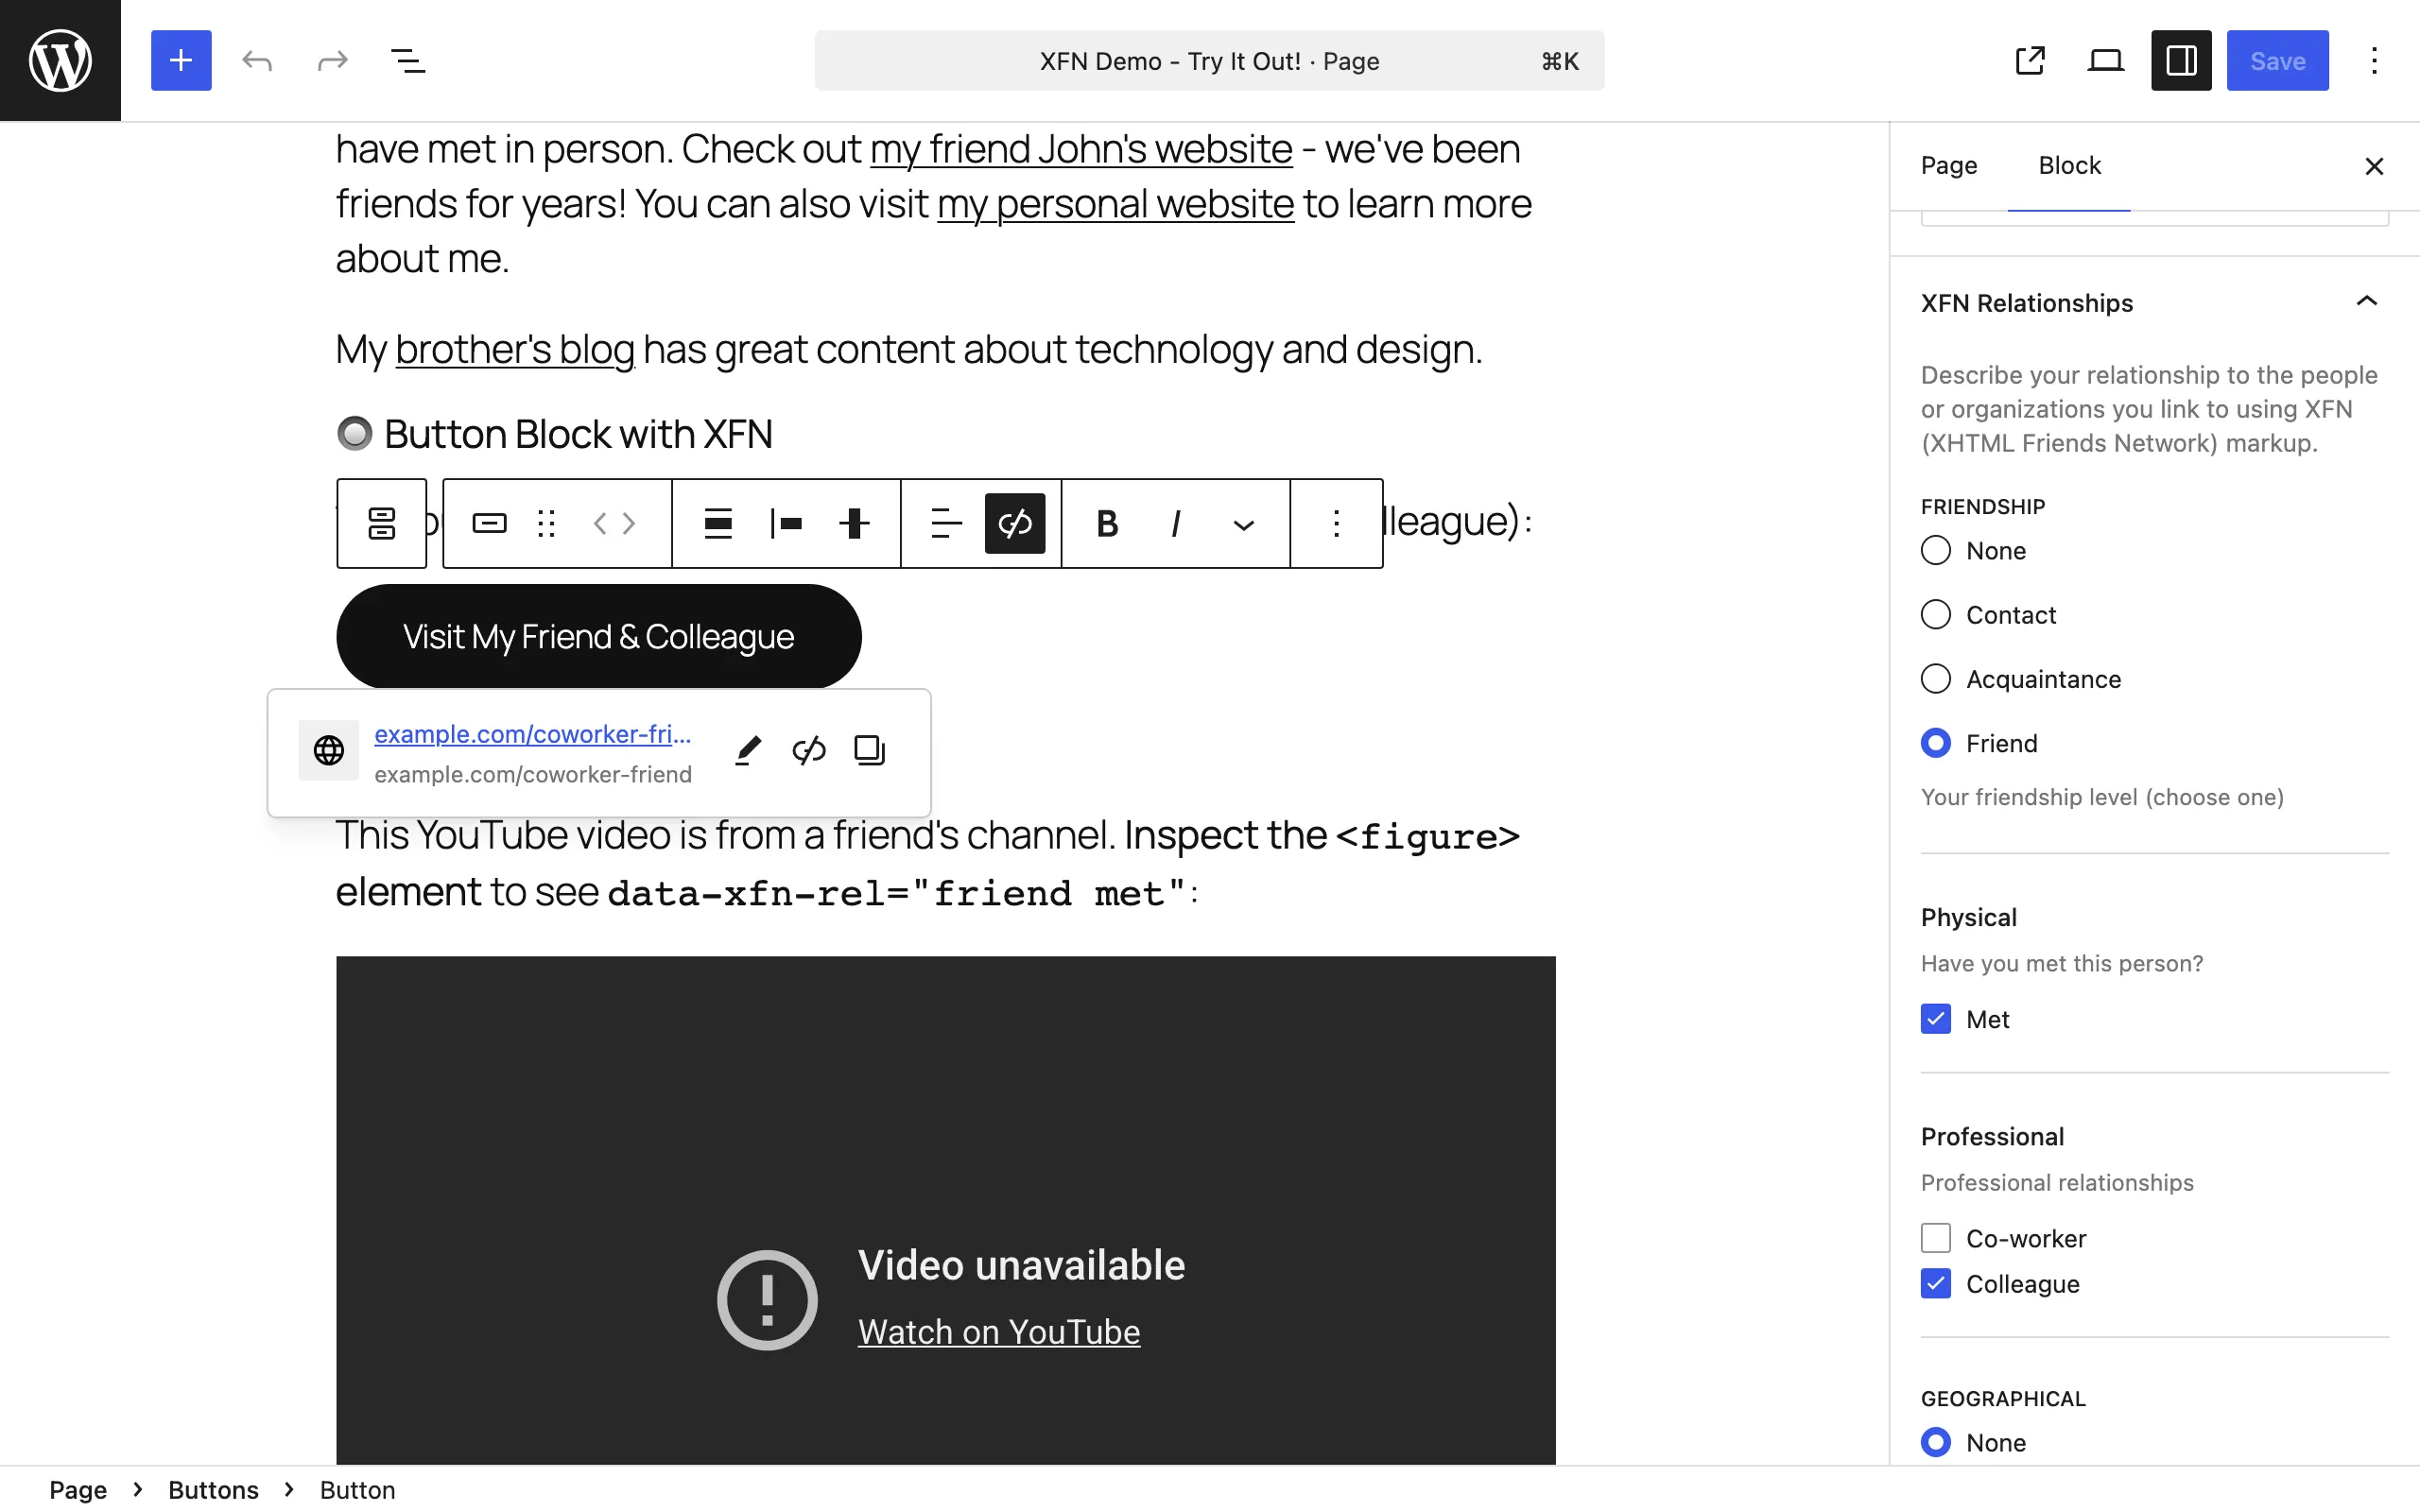
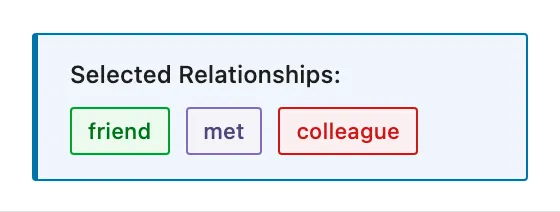
Blocks with a native rel attribute (like Button) store the values there; blocks without one store them under the block’s metadata.rel. Details: Button links, Image links, Other block links.
Enable the Inspector Controls panel
Section titled “Enable the Inspector Controls panel”- Go to Settings → Link Extension for XFN.
- Check Inspector Controls and click Save Changes.
- Refresh any open editor windows.
See Settings.
Remove relationships from a link
Section titled “Remove relationships from a link”- Open the same interface you used to add them (link popover Advanced → XFN, or the Inspector panel).
- For choose-one groups, select None; for checkboxes, uncheck the values.
- Apply and save the post.
Display a blogroll of XFN-linked sites
Section titled “Display a blogroll of XFN-linked sites”The XFN Blogroll block lists every XFN-tagged link found in your published posts and pages, grouped by relationship type or by domain.
- Add the XFN Blogroll block to a post, page, or template part.
- In the block sidebar, set:
- Group by —
relationship(default) groups links under headings like “friend” or “colleague”;domaingroups them by site and shows each link’s relationship pills. - Limit — maximum number of links to include (default 50).
- Show relationships — when grouping by domain, show or hide the relationship pills (default on).
- Group by —
- Publish.
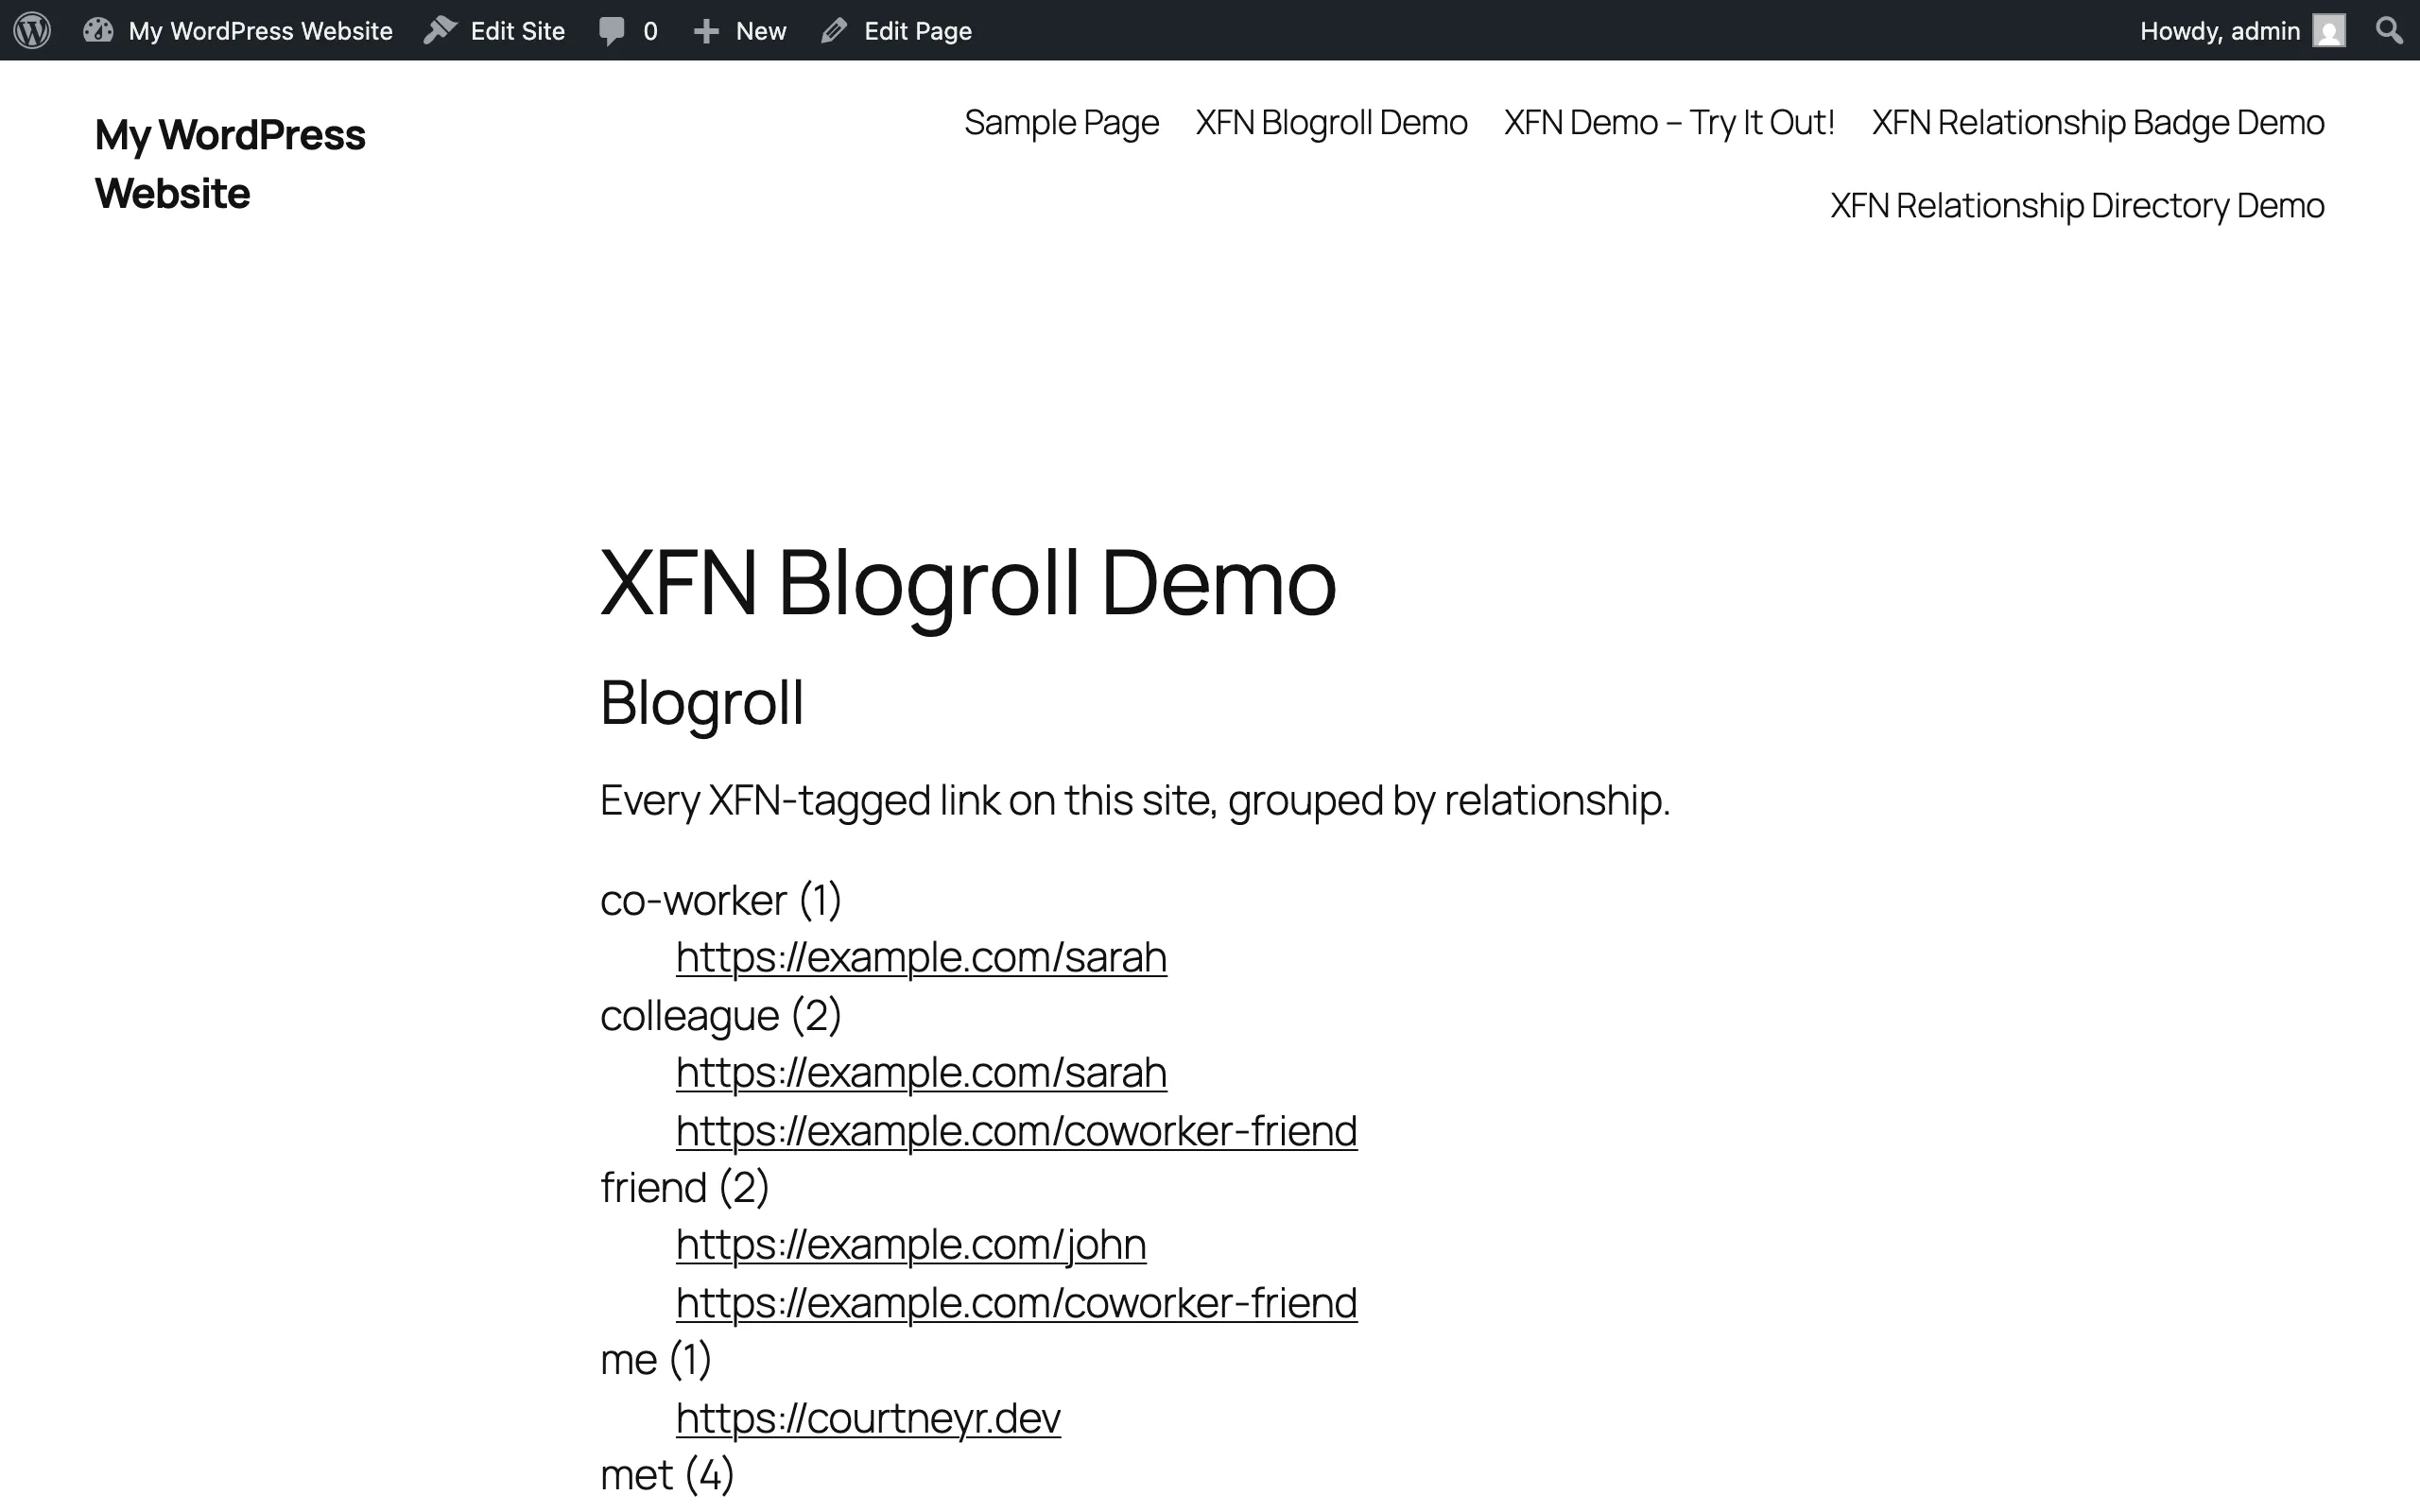
The block scans your published posts and pages for links with XFN rel values and caches the result for about 5 minutes. If you haven’t tagged any links yet (or the tagged posts aren’t published), it shows “No XFN relationships found.”
Show relationship pills for a specific URL
Section titled “Show relationship pills for a specific URL”The Relationship Badge block displays the XFN relationships your site has assigned to one URL.
- Add the Relationship Badge block.
- Enter the exact URL you’ve tagged elsewhere on the site (it must match the link’s
hrefexactly). - Optionally toggle Show URL (default on) to show or hide the linked URL next to the pills.
- Publish.
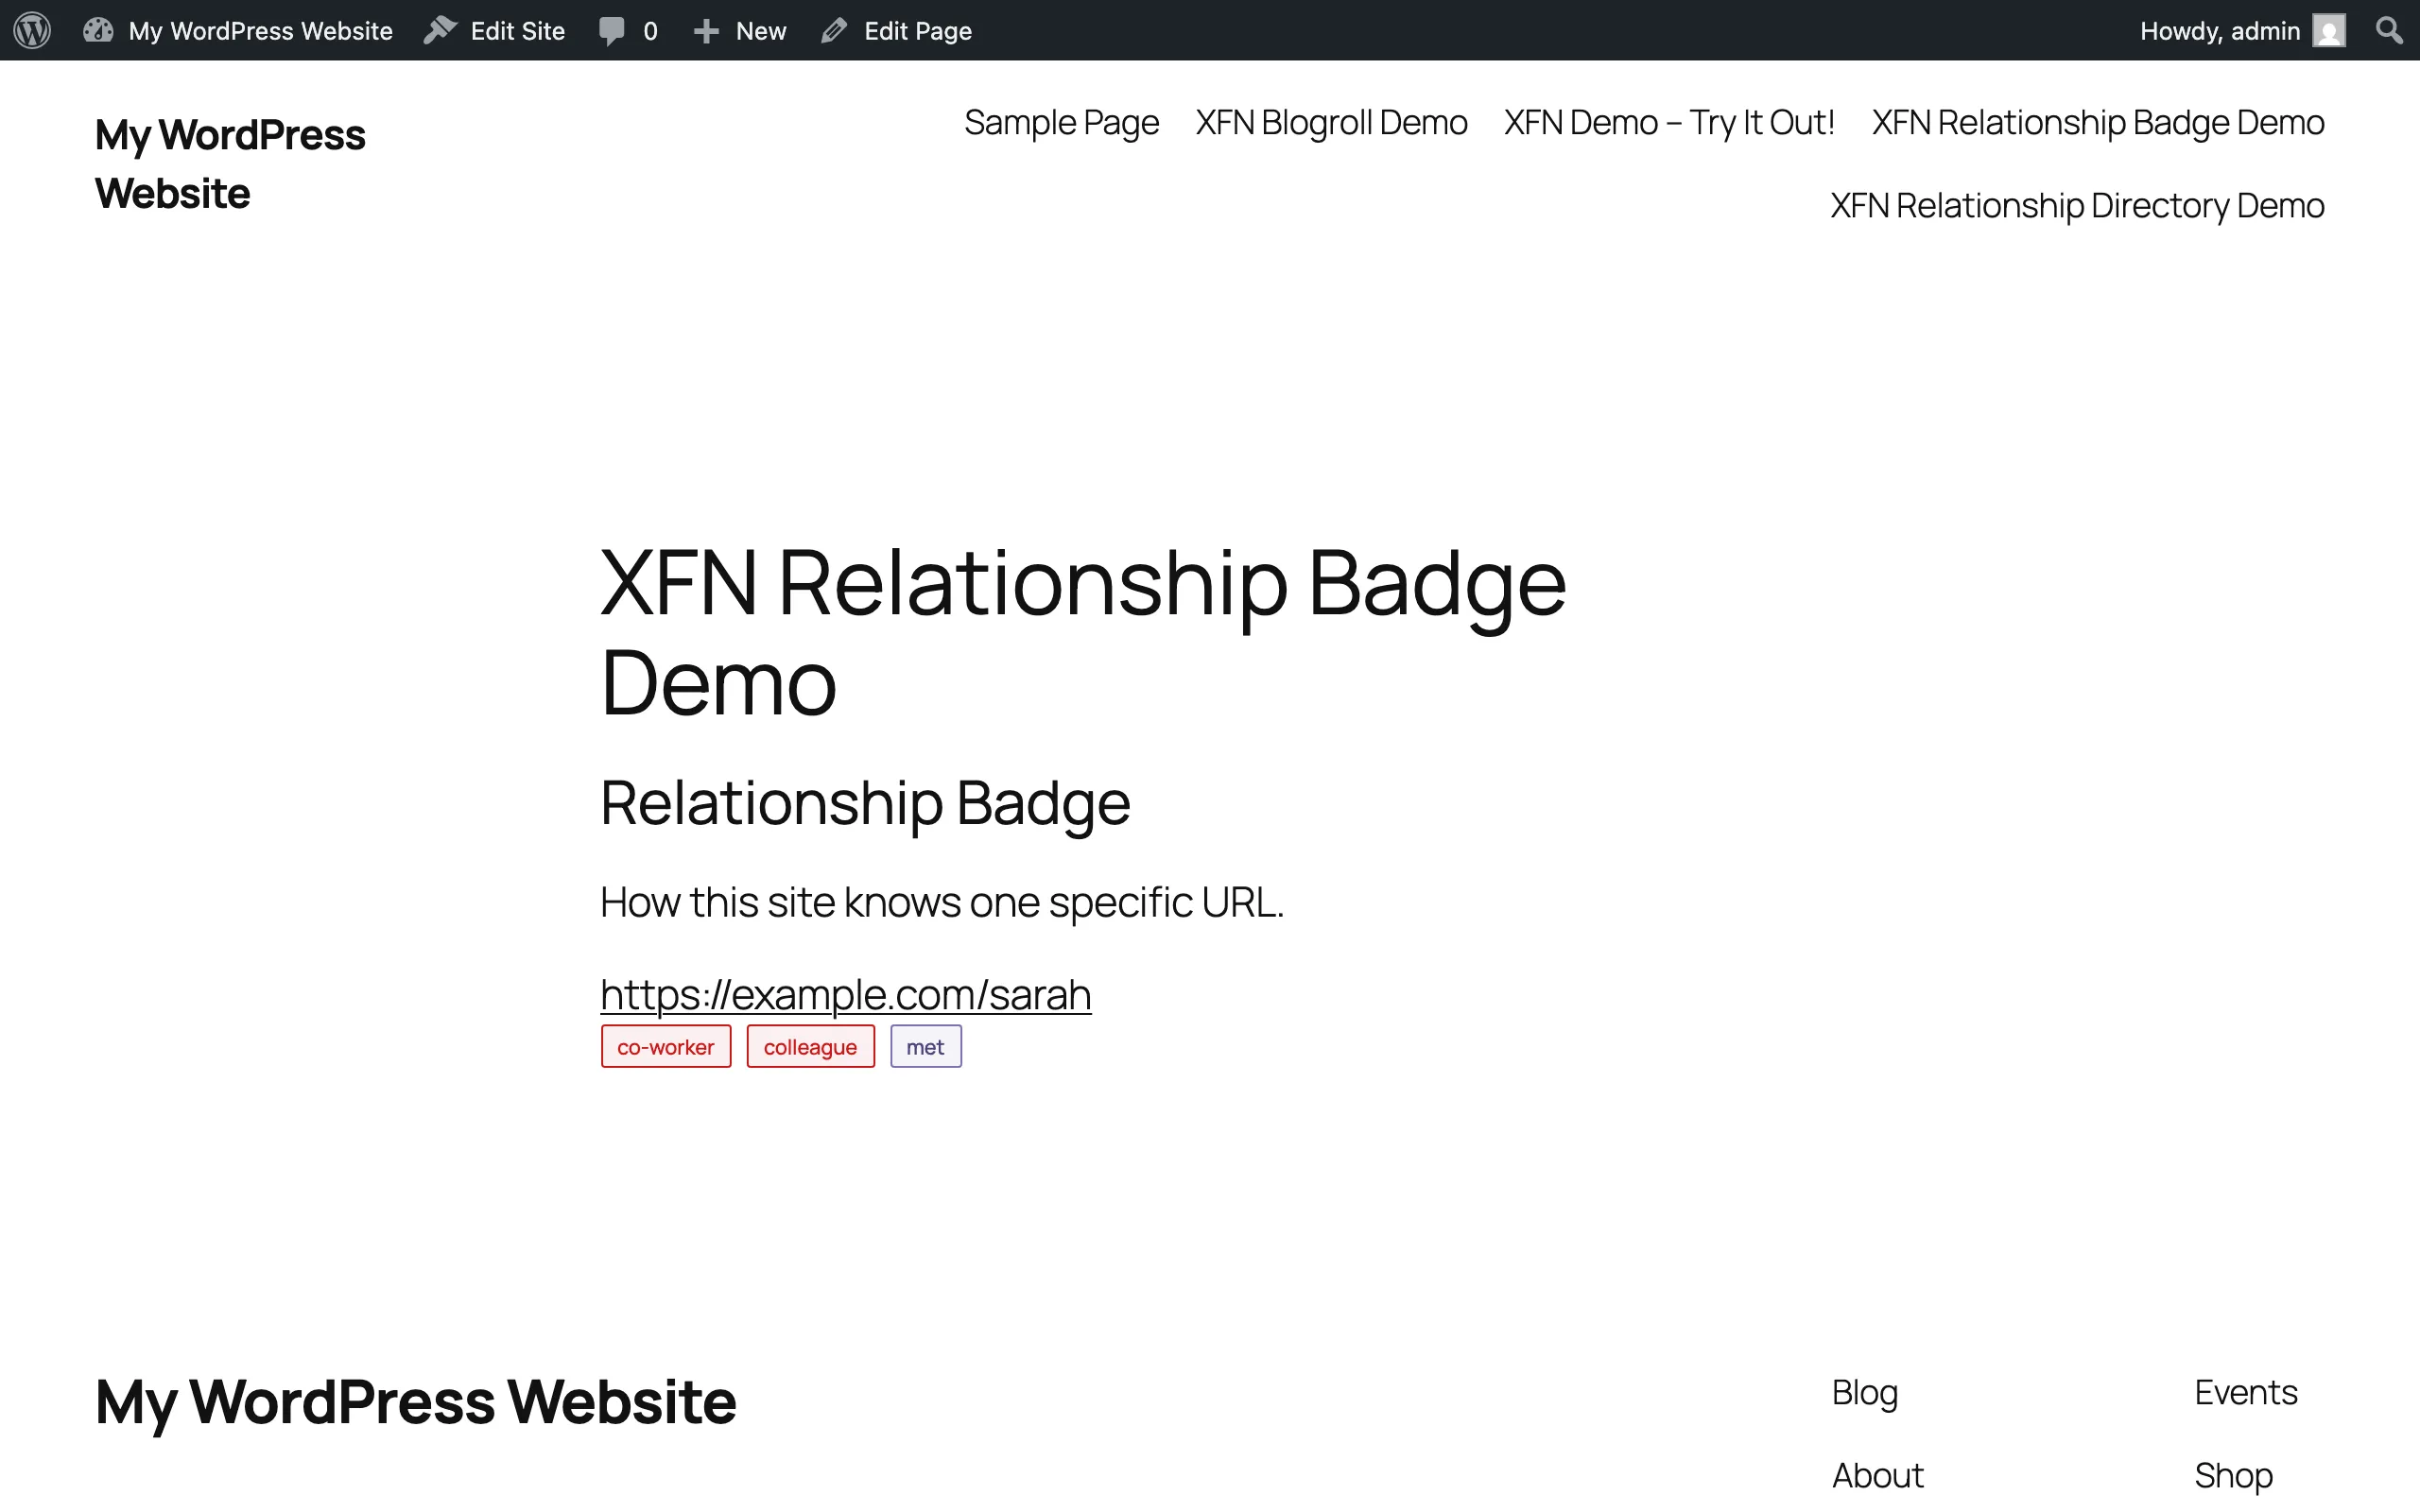
The badge combines every relationship assigned to that URL across your published posts and pages. If the URL hasn’t been tagged anywhere, it shows “No XFN relationships found for [URL].”
Add a site-wide relationship directory
Section titled “Add a site-wide relationship directory”The Relationship Directory block renders a searchable, filterable list of every XFN-tagged link on your site.
- Add the Relationship Directory block (it supports wide and full alignment).
- In the block sidebar, set:
- Show search — a search box for filtering the list (default on).
- Show filters — one filter button per relationship type in use, plus “All” (default on).
- Limit — maximum number of links (default 50).
- Publish.
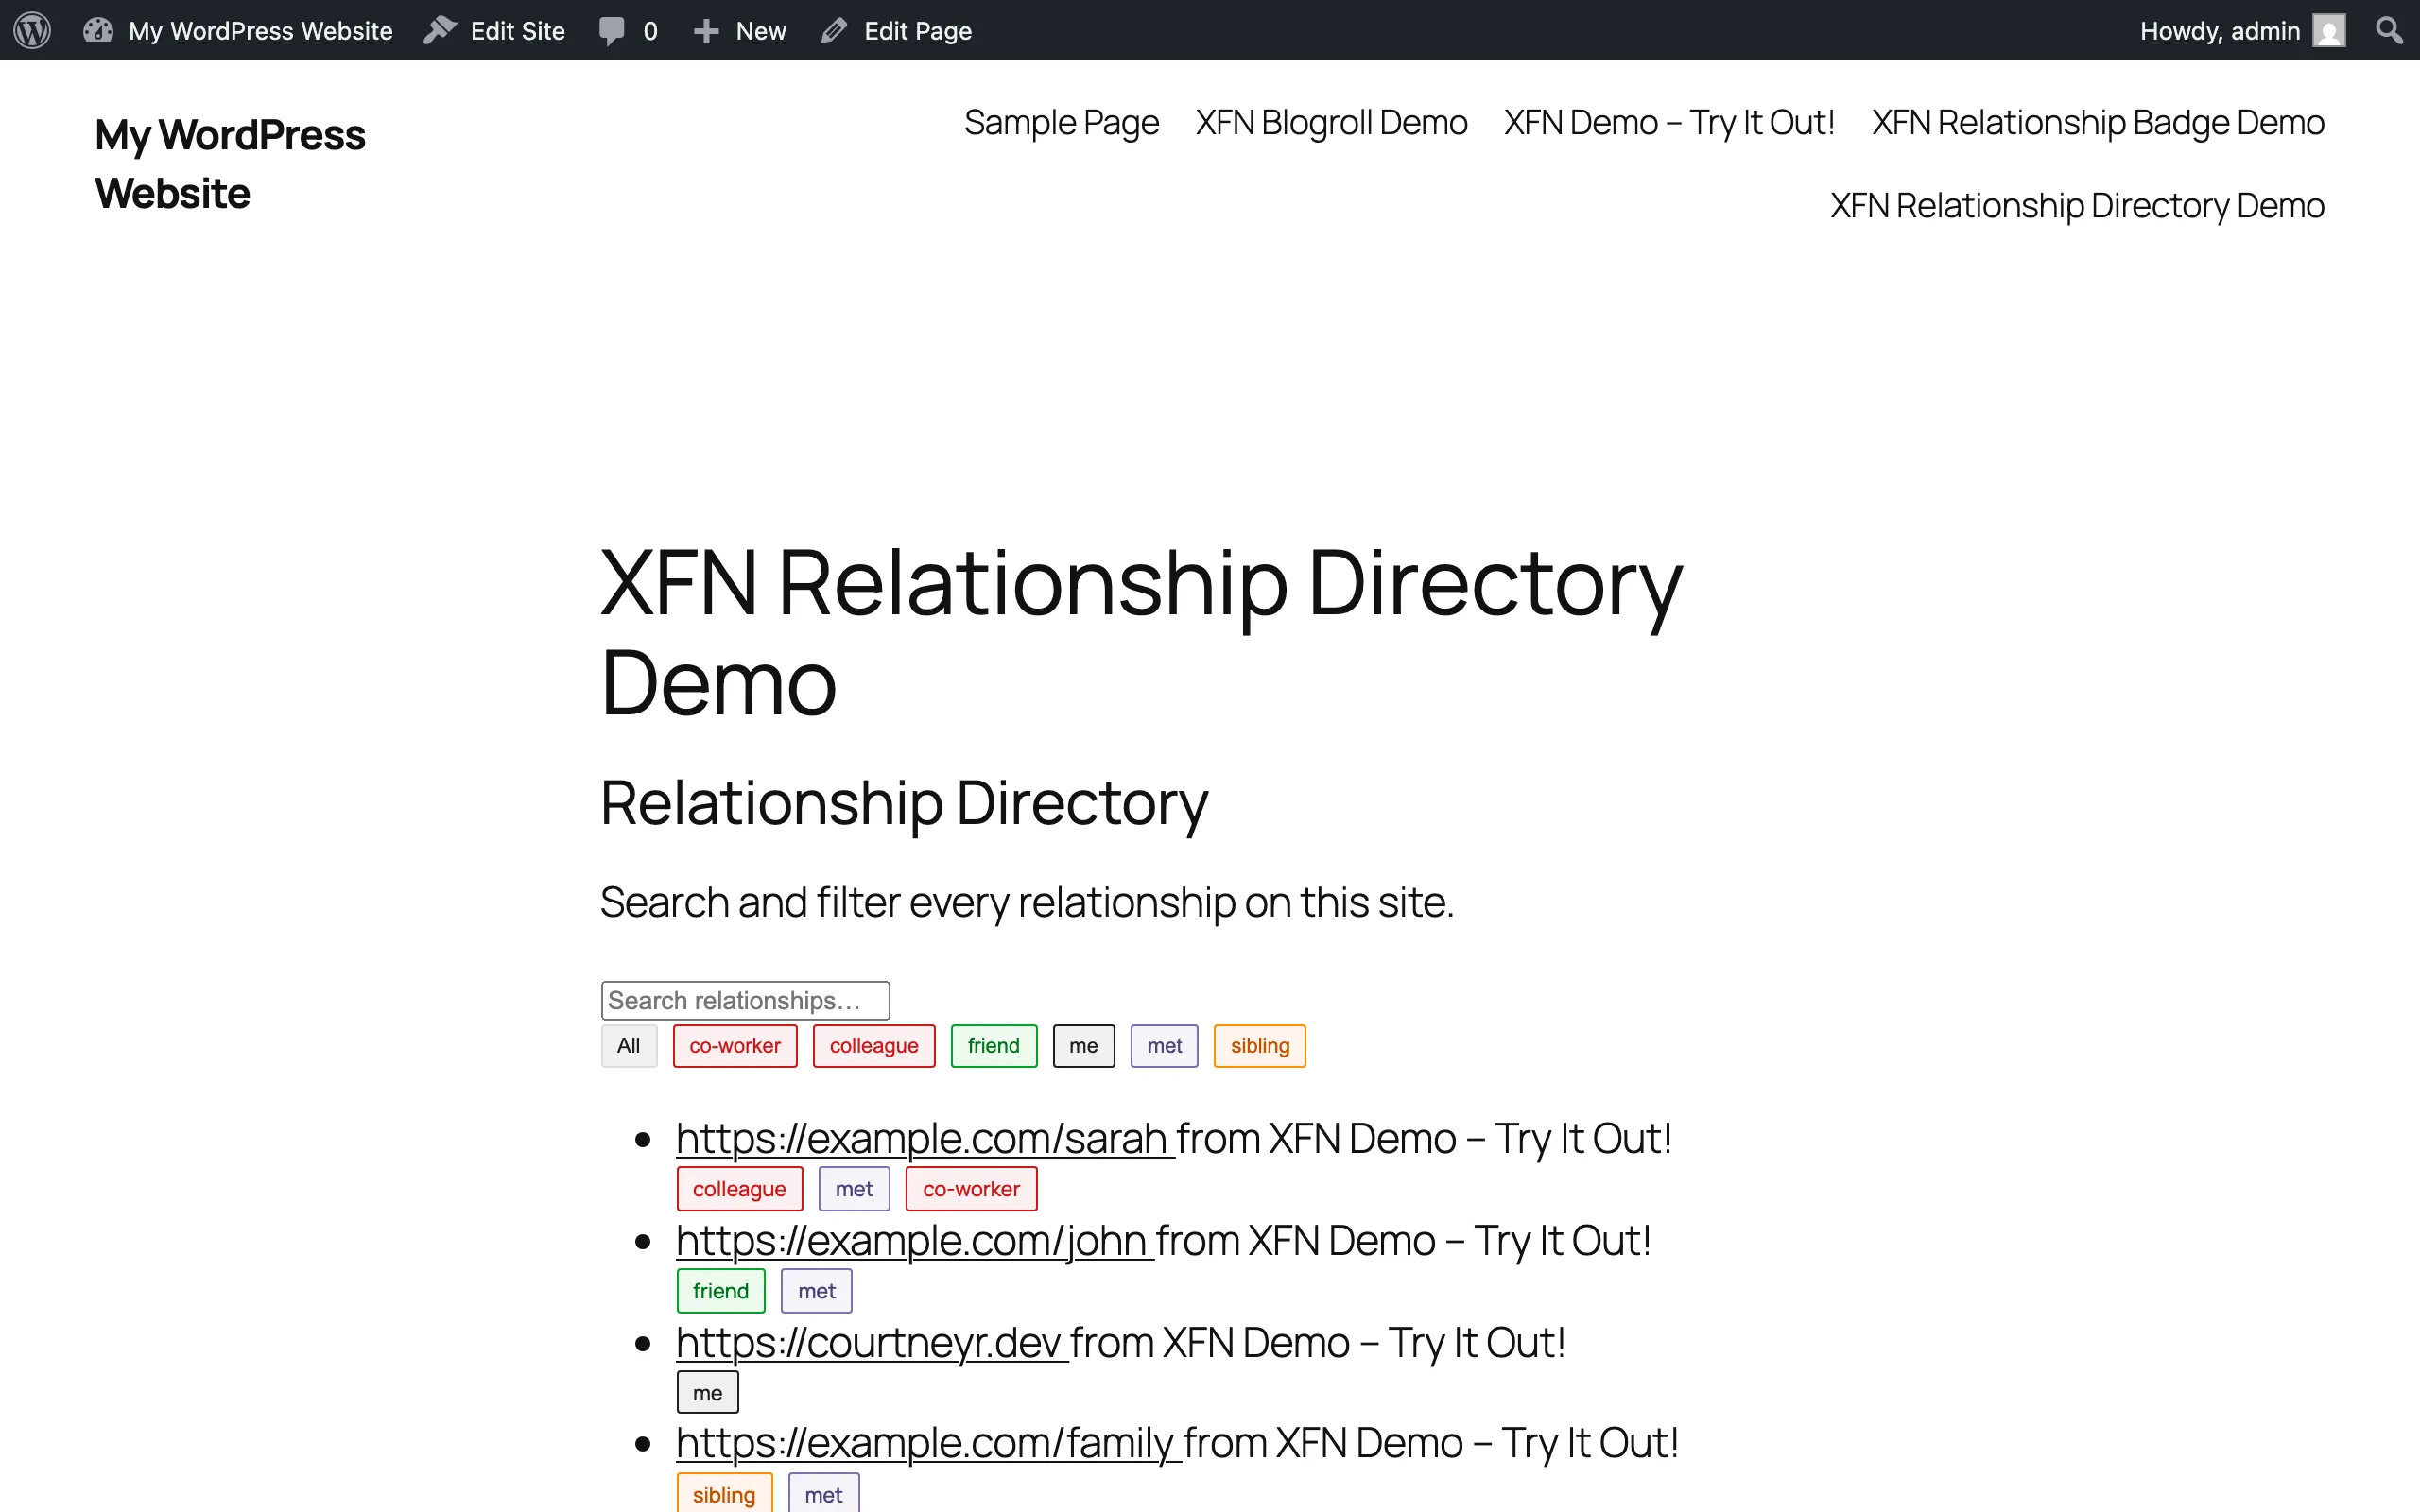
Each entry shows the URL, which post it came from, and its relationship pills. Visitors can type in the search box or click a relationship pill to narrow the list. Like the other blocks, it reads from a scan of published posts and pages cached for about 5 minutes — so it needs existing XFN-tagged links to show anything.
Confirm relationships on the frontend
Section titled “Confirm relationships on the frontend”- View the published post.
- Right-click the tagged link and choose Inspect.
- Check the anchor’s
relattribute — for examplerel="friend met". Embed blocks without an internal anchor carry the values asdata-xfn-relon the figure element instead.
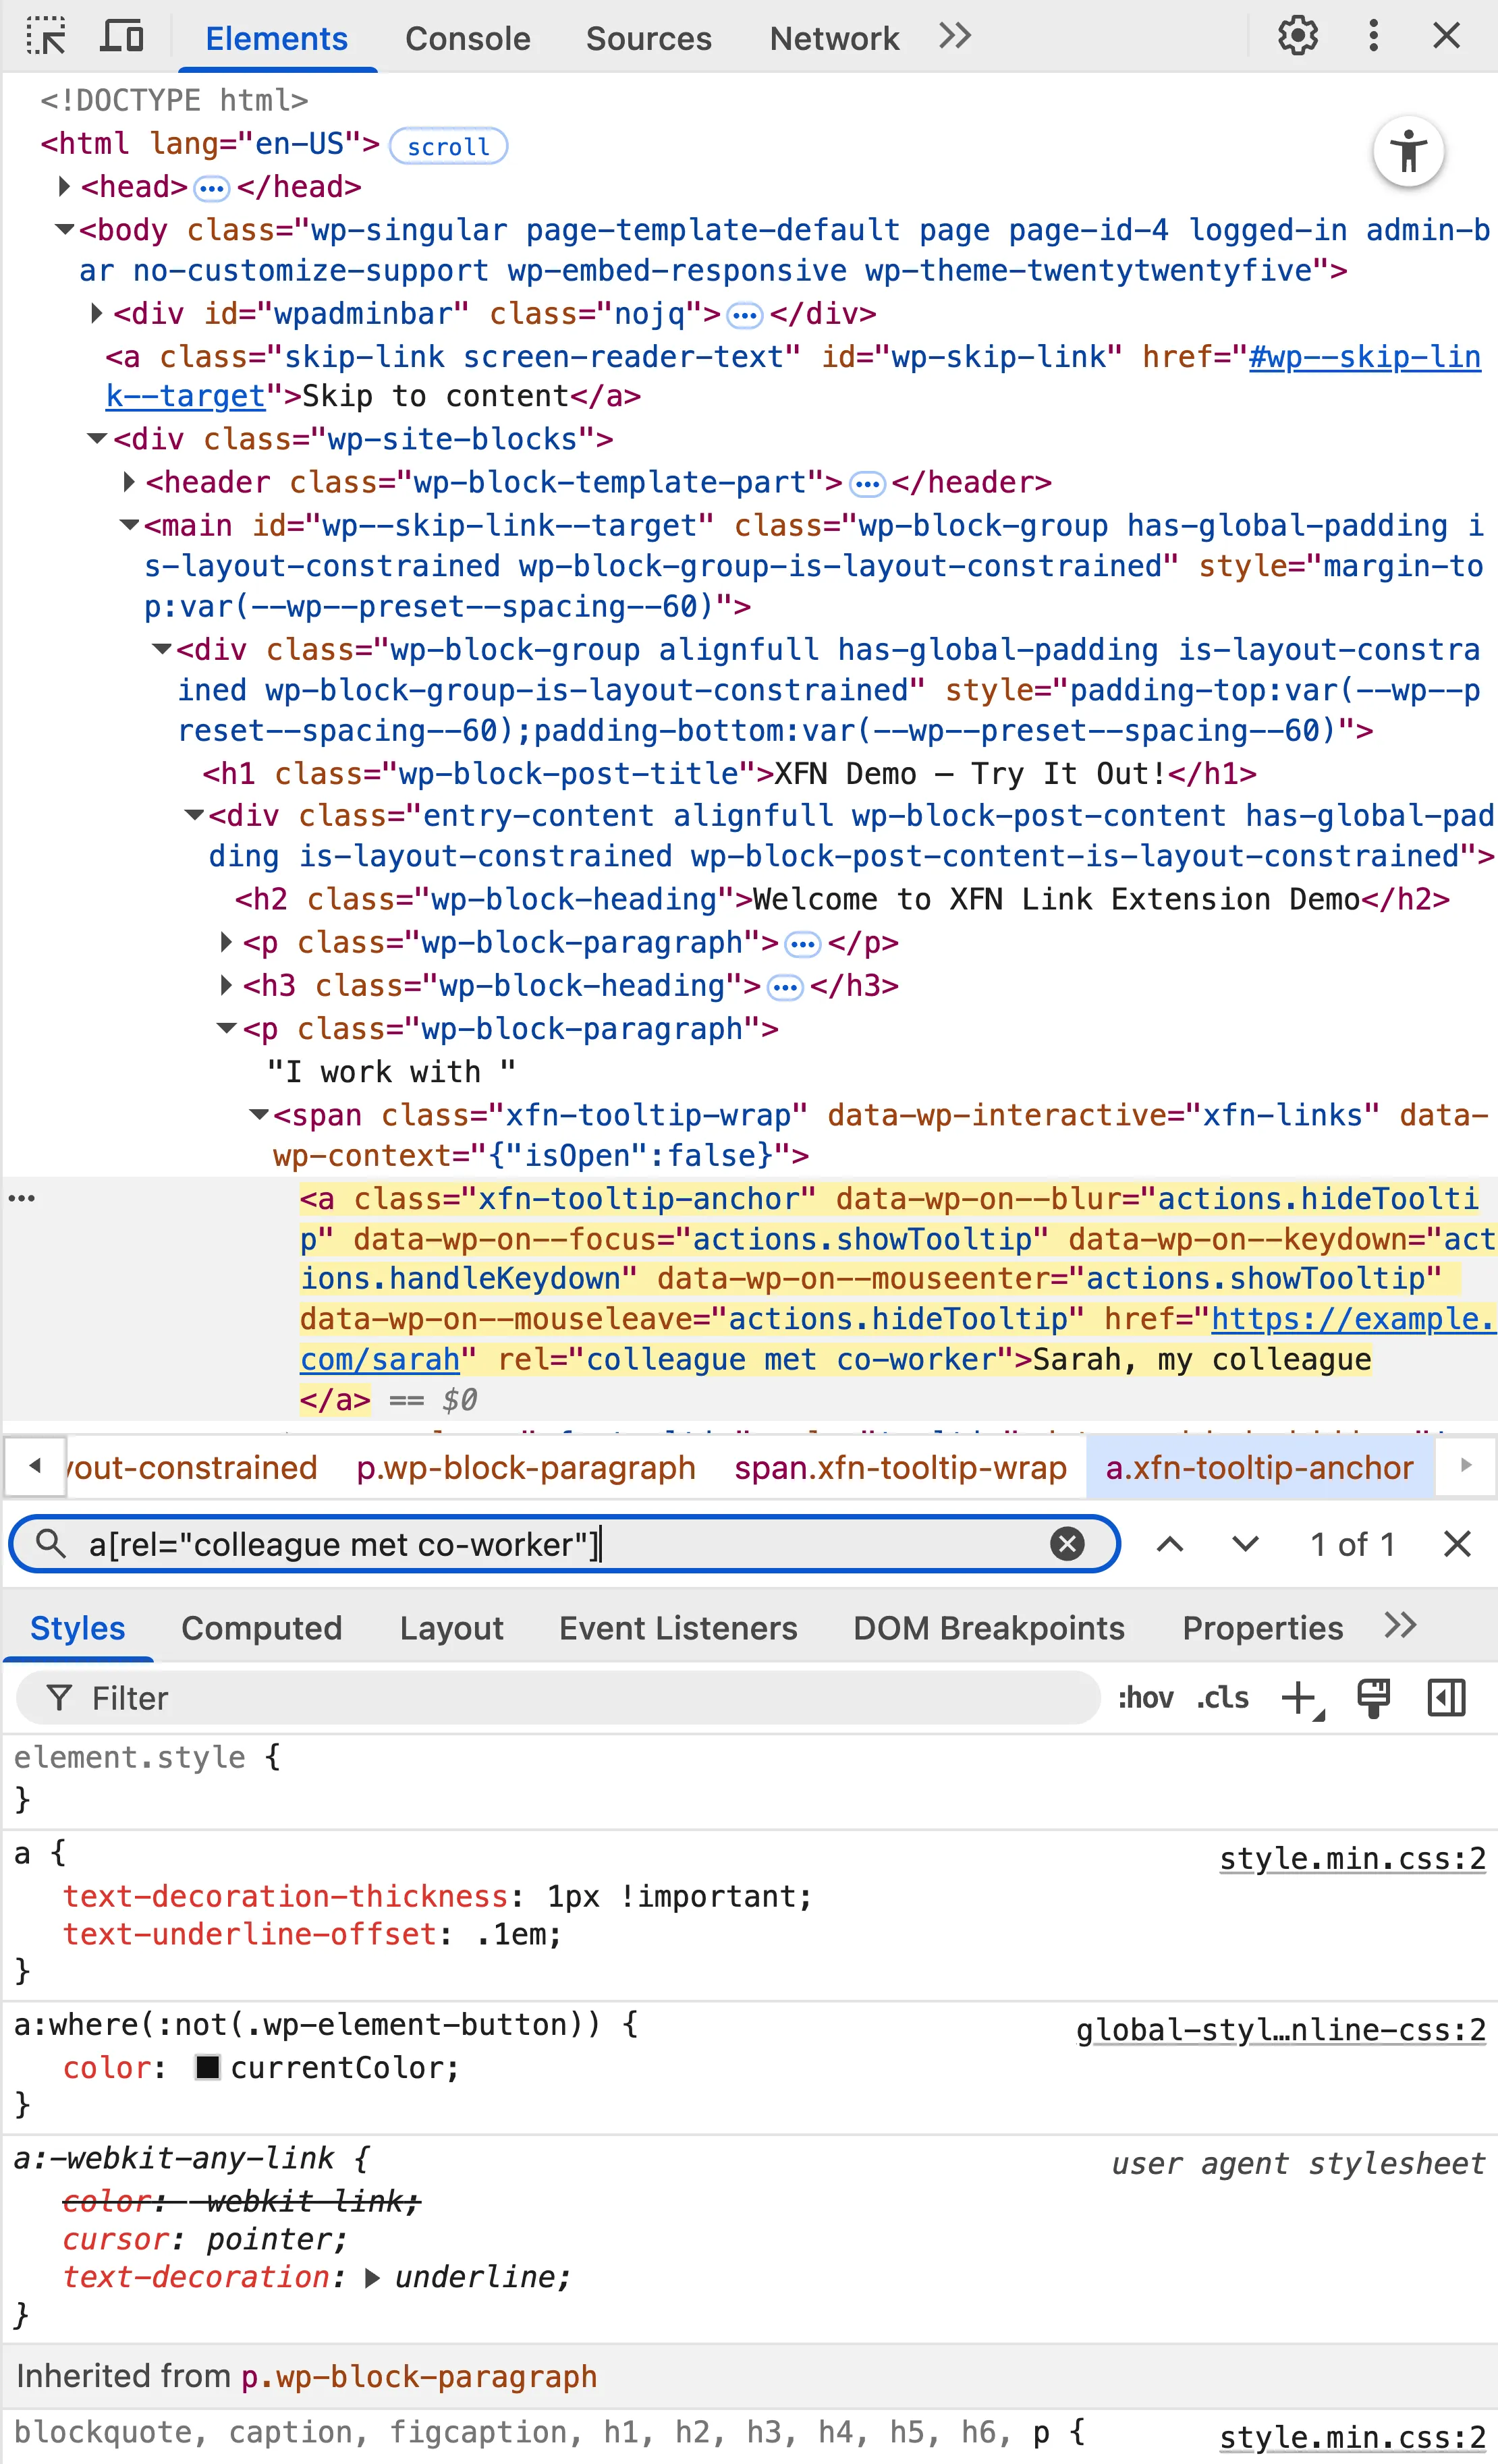
The repo also ships xfn-checker.js, a snippet you can paste into the browser console to list every XFN link on the page, and xfn-test-page-content.html, ready-made test content. Full instructions: XFN testing guide.
Apply relationships posted through Outpost (Micropub)
Section titled “Apply relationships posted through Outpost (Micropub)”If you run the separate Outpost plugin, its Micropub bridge can set XFN relationships for you. When a Micropub client posts relationship data (stored as _outpost_xfn post meta with a target URL and relationship list), this plugin picks it up automatically and applies the relationships to the matching link in the post content. No configuration is needed on this plugin’s side — it’s on by default.
Troubleshoot an empty Blogroll or Directory block
Section titled “Troubleshoot an empty Blogroll or Directory block”- Confirm at least one published post or page contains a link with XFN values (drafts aren’t scanned).
- Wait up to 5 minutes — results are cached and refresh automatically when the cache expires.
- Check the frontend
relattribute directly (task above) to confirm the tags saved.
More in Troubleshooting.