Common tasks
Step-by-step recipes for the things you’ll do most often with Outpost. All of these assume the setup in Getting started is done.
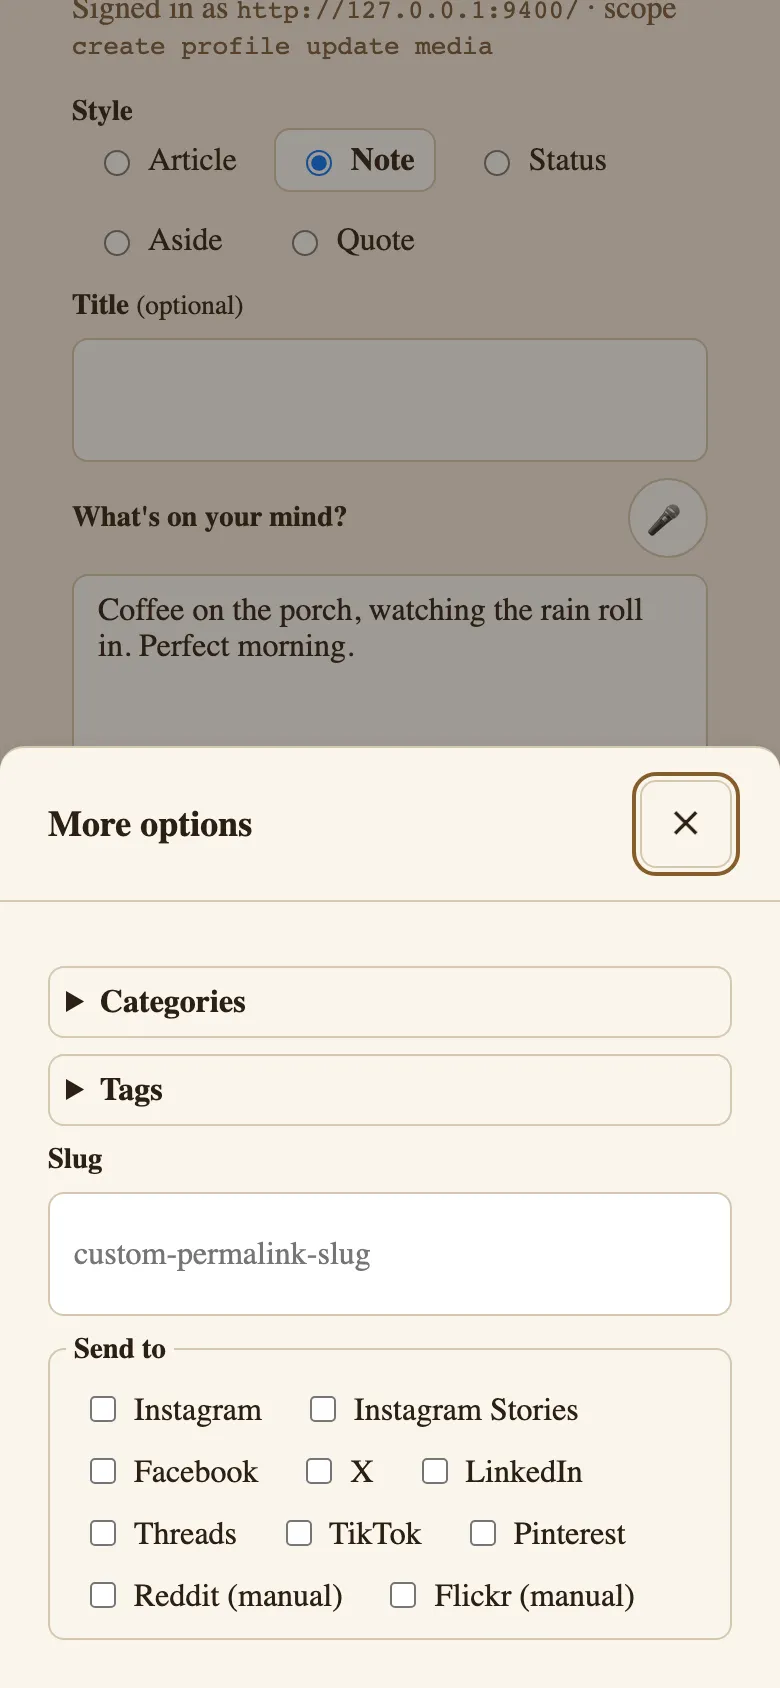
Post a note
Section titled “Post a note”- Open the composer at
/post/(or tap your home-screen icon). - Choose the Note variant if the Post tab opened elsewhere.
- Write your text — Note mode also supports voice input.
- Review the syndication chips: configured destinations are on by default; tap to turn any off.
- Tap post and follow the link in the success message to your new post.
Reply to (or like, repost, bookmark) a page
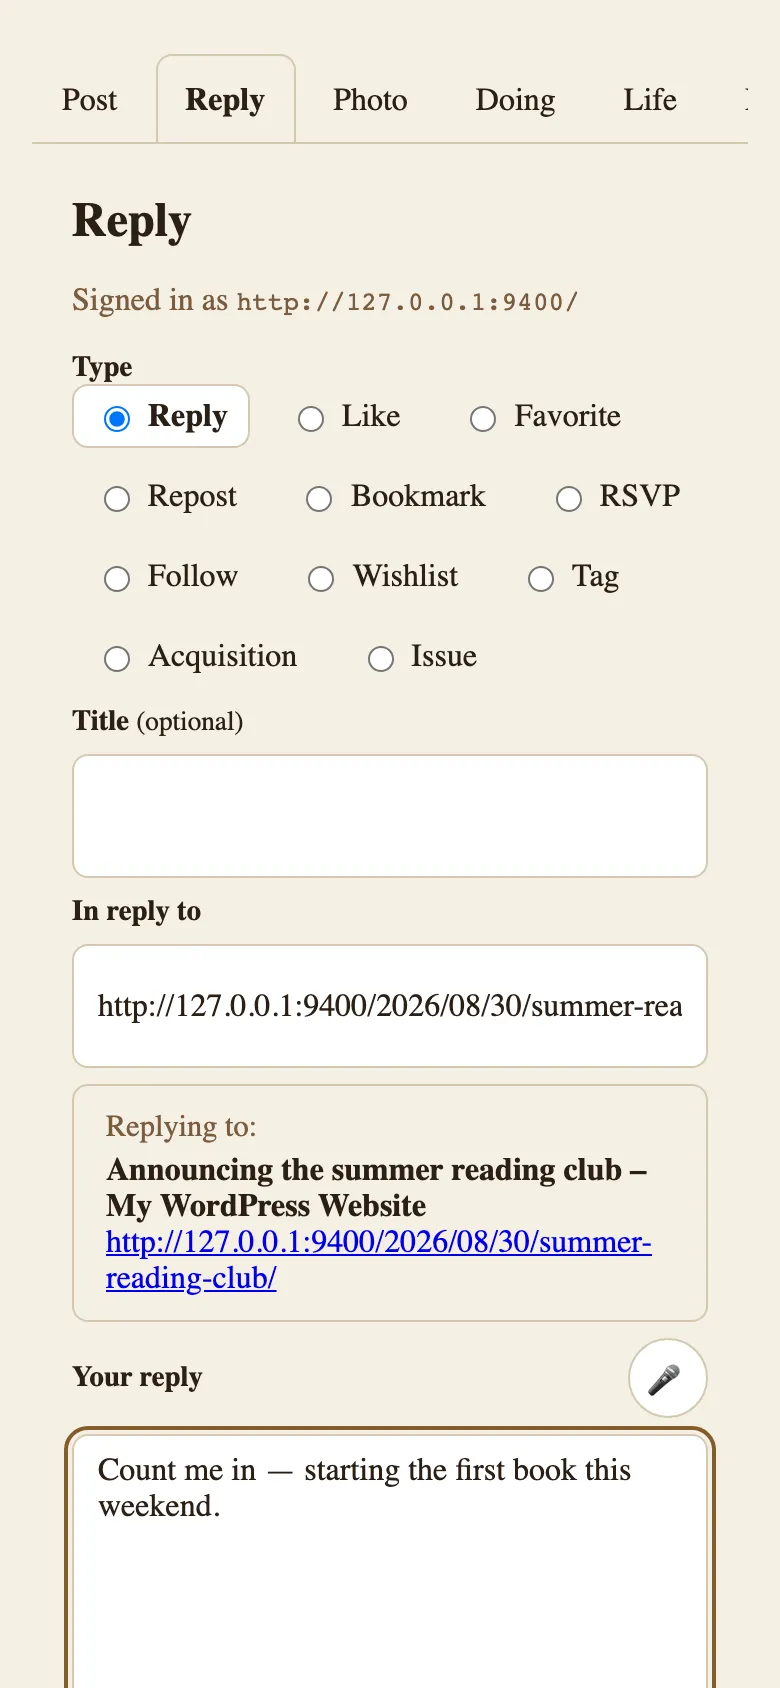
Section titled “Reply to (or like, repost, bookmark) a page”- In the composer, switch to the Reply group and pick the response type: Reply, Like, Repost, or Bookmark.
- Paste the URL you’re responding to. The composer shows the target’s context.
- Add your commentary (Reply and Bookmark), then post. The published post links back to the source with the right microformats (in-reply-to, like-of, repost-of).
Faster paths so you don’t paste URLs by hand:
- From your phone’s share sheet: see Share to Outpost from your phone below.
- From a desktop browser: use bookmarklets (next task).
Share to Outpost from your phone
Section titled “Share to Outpost from your phone”Send a link, some text, or a photo into the composer from any app through your phone’s share sheet. The setup differs by platform.
Android, and desktop Chrome or Edge
Section titled “Android, and desktop Chrome or Edge”- Install Outpost as an app: open the browser menu and choose Install app (or Add to Home Screen).
- Outpost now appears in the share sheet — there’s nothing else to set up.
- Share from any app and pick Outpost. The composer opens already filled in.
What each kind of share becomes:
- A link → a Reply, with the link as the target.
- A link plus selected text → a Reply, with the text as your reply.
- Plain text → a Note.
- A title and text (some apps send both) → an Article.
- A photo → the Photo tab, with the picture already attached. Add alt text and post.
iPhone and iPad
Section titled “iPhone and iPad”iOS Safari doesn’t support the Web Share Target API, so a web app can’t join the share sheet by itself. Add a small Shortcut instead, one of two ways.
-
Guided: in wp-admin, open Settings → Outpost iOS Shortcut. It provides a ready-made Shortcut and the token it needs. That Shortcut posts straight to your site through the token without opening the composer — use it when you don’t want to review first. If the one-tap Shortcut link isn’t published in your version yet, use the manual steps.
-
Manual (no token; opens the composer so you can review before posting):
- Open the Shortcuts app and tap + to make a new Shortcut.
- The first action reads Receive … from Nowhere. Tap Nowhere and choose Share Sheet — that’s what makes the shortcut appear when you share. Then tap the types (it starts as Images and 18 more), clear them, and pick URLs and Text. (On older iOS this is the Show in Share Sheet toggle under the ⓘ details instead.)
- Search for the action named Open URLs — not Share, which only reopens the share sheet — and add it. In its URL field type
https://your-site.example/post/share-target?url=and, with the cursor at the very end, tap Shortcut Input in the variable bar above the keyboard, so the field reads…share-target?url=[Shortcut Input]. Sharing plain text rather than a link? Use?text=in place of?url=. - Tap the shortcut’s name at the top, choose Rename, and call it Post to Outpost.
- Test it: open any page in Safari, tap Share, and pick Post to Outpost. The composer opens on Reply with that link as the target.
- Move it up the list: scroll to the bottom of the share sheet, tap Edit Actions…, tap the green + next to Post to Outpost to add it to Favorites, then drag it to the top with the ≡ handle and tap Done. It now sits near the top every time you share.
“Post to Outpost” now appears in your share sheet. Choosing it opens the composer prefilled, using the sign-in you already have in the app.
Photos, too. The share sheet only offers a Shortcut that accepts the kind of thing you’re sharing, so pictures get a second one. Make it exactly like the first, but keep Images as the accepted type and set its Open URLs action to
https://your-site.example/post/?mode=photowith nothing after it (no Shortcut Input). Name it Photo to Outpost. Sharing a photo from your library then opens the composer on the Photo tab; pick the picture there and add alt text.
The composer’s About tab carries the same directions with your site’s address already filled in.
Add the bookmarklets to your browser
Section titled “Add the bookmarklets to your browser”Outpost generates one bookmarklet per response type — Reply, Like, Repost, Bookmark — each pre-built with your site’s URL. They’re in two places: wp-admin → Outpost (the first Outpost menu), and the composer’s About tab, which lists the same four with a copy button.
Install them the way your device handles bookmarks:
- Desktop browsers: drag the bookmarklet link to the bookmarks bar.
- iPhone Safari: long-press the link and choose Add Bookmark.
- Android Chrome: long-press the link, choose Copy link, then save it as a new bookmark.
- Anywhere else: use the Copy source button in the About tab and paste the
javascript:link wherever your device manages bookmarks.
On any web page, open a bookmarklet to launch the composer with that page’s URL, title, and your selected text pre-filled.
Post a photo
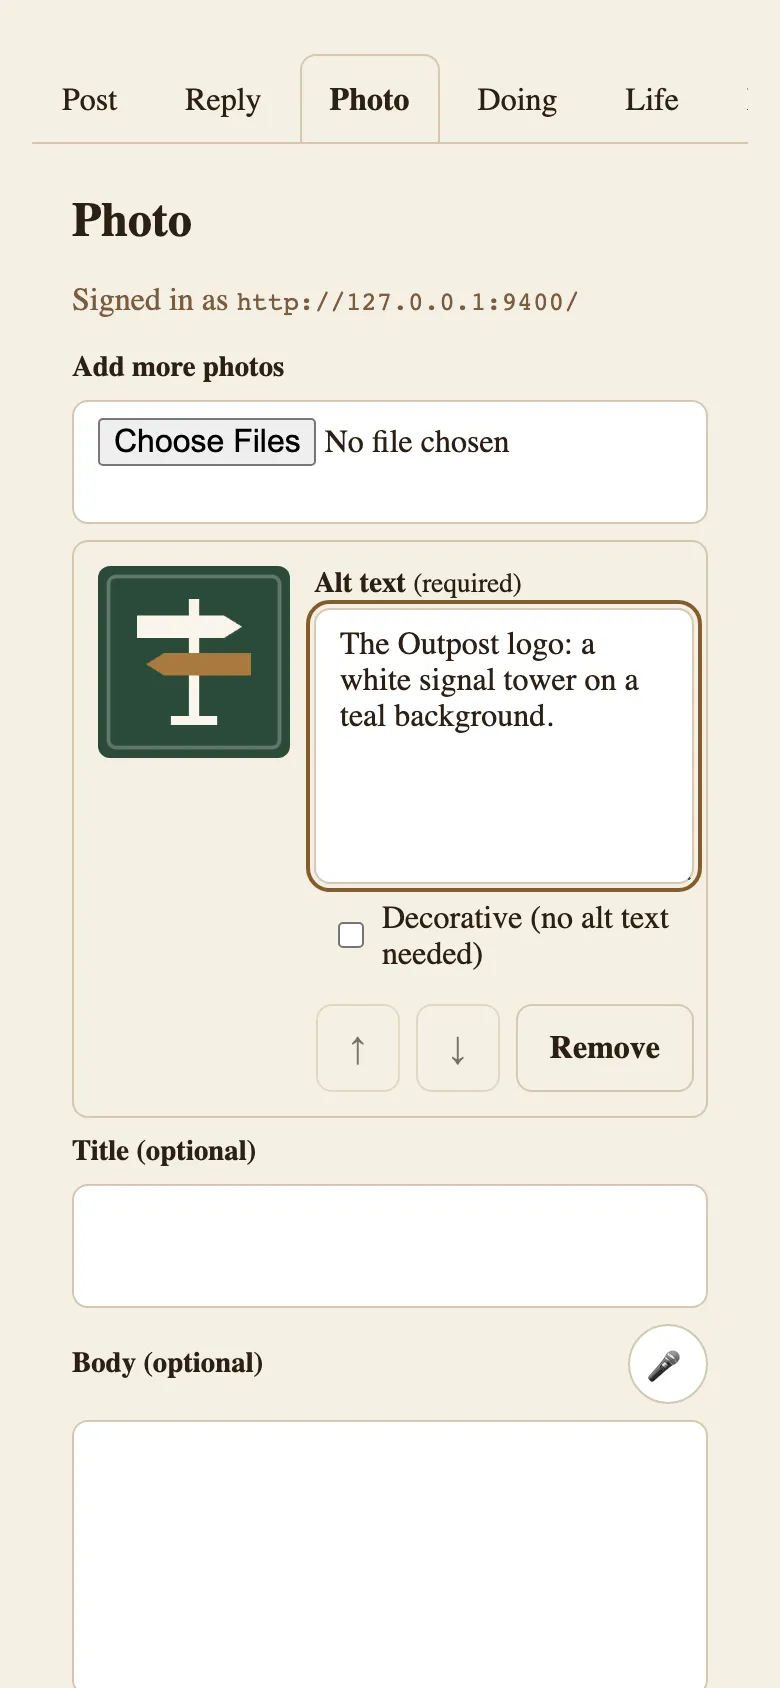
Section titled “Post a photo”- In the composer, switch to Photo mode.
- Upload from your camera roll.
- Enter alt text — it’s required; the post won’t submit without a description of the image.
- Add any caption text and post.
The first photo on a post also becomes its featured image, unless the post already has one. Site owners can turn that off with the outpost_set_featured_image filter.
Log something you’re listening to, watching, or reading
Section titled “Log something you’re listening to, watching, or reading”Works best with the Post Kinds for IndieWeb in Block Themes companion plugin: the “Look it up” search requires it, and without it these entries publish as generic notes instead of proper post kinds.
- Switch to the Listen, Watch, Read, Checkin, or Play mode.
- Use the “Look it up” search to find the album, film, book, venue, or game — it fills the title, creator, and cover art from Post Kinds’ lookup services (MusicBrainz, TMDB, Open Library, Foursquare/Nominatim, BoardGameGeek/RAWG). Watch mode has a Movie/TV toggle.
- Attach a photo if you like — every Doing kind except Video accepts one, and the first photo becomes the post’s featured image.
- Add your note or rating and post.
If lookup says a source is “not configured,” add the relevant API key under Post Kinds → API Connections — music, book, game, and venue search only work once their keys are set there.
Post a recipe
Section titled “Post a recipe”- Switch to Recipe mode.
- Enter the title, the ingredients, and the steps.
- Attach a photo if you have one — it becomes the post’s featured image.
- Post. The recipe publishes as an h-recipe, and with the Post Kinds companion active it’s classified as the recipe kind.
Write a long-form article
Section titled “Write a long-form article”Choose the Article variant in the composer. Outpost hands off to the block editor (/wp-admin/post-new.php) — the composer is for fast posts; long-form stays in the editor.
Change which variant the composer opens to
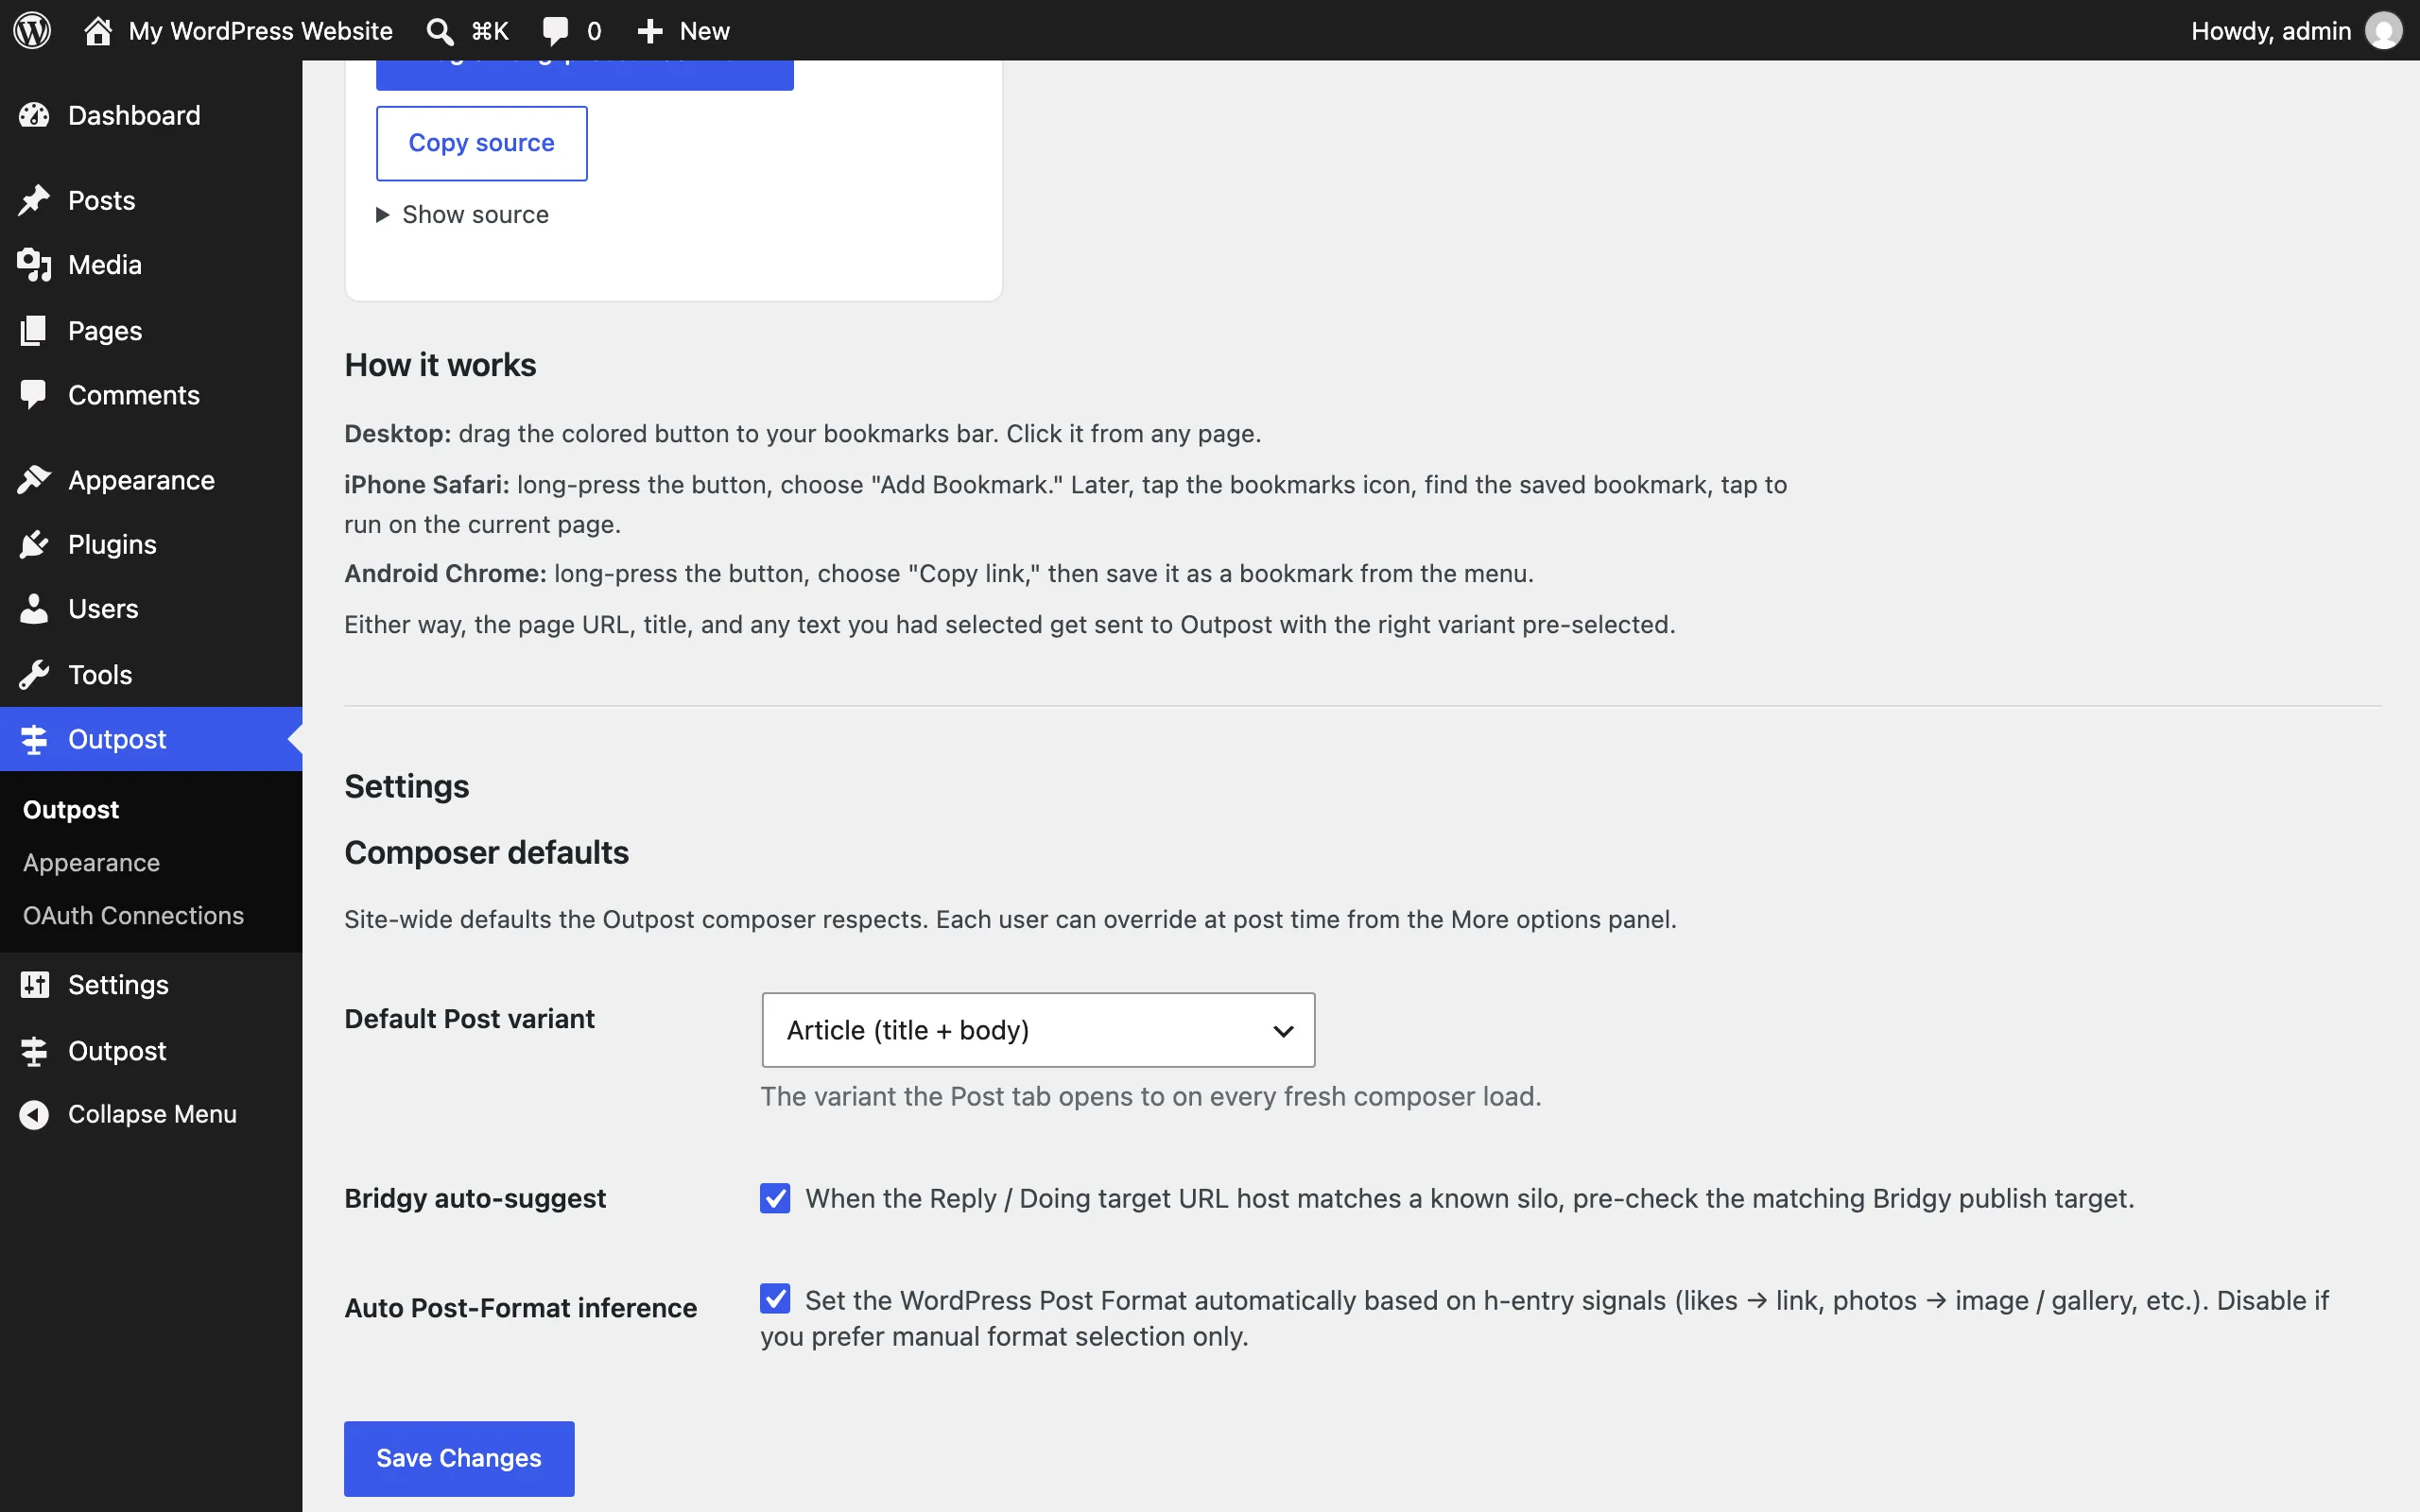
Section titled “Change which variant the composer opens to”- Go to wp-admin → Outpost (first menu) and scroll to the Settings section.
- Set “Default Post variant” (Article, Note, Status, Aside, or Quote) and save. See Settings.
Confirm a post syndicated
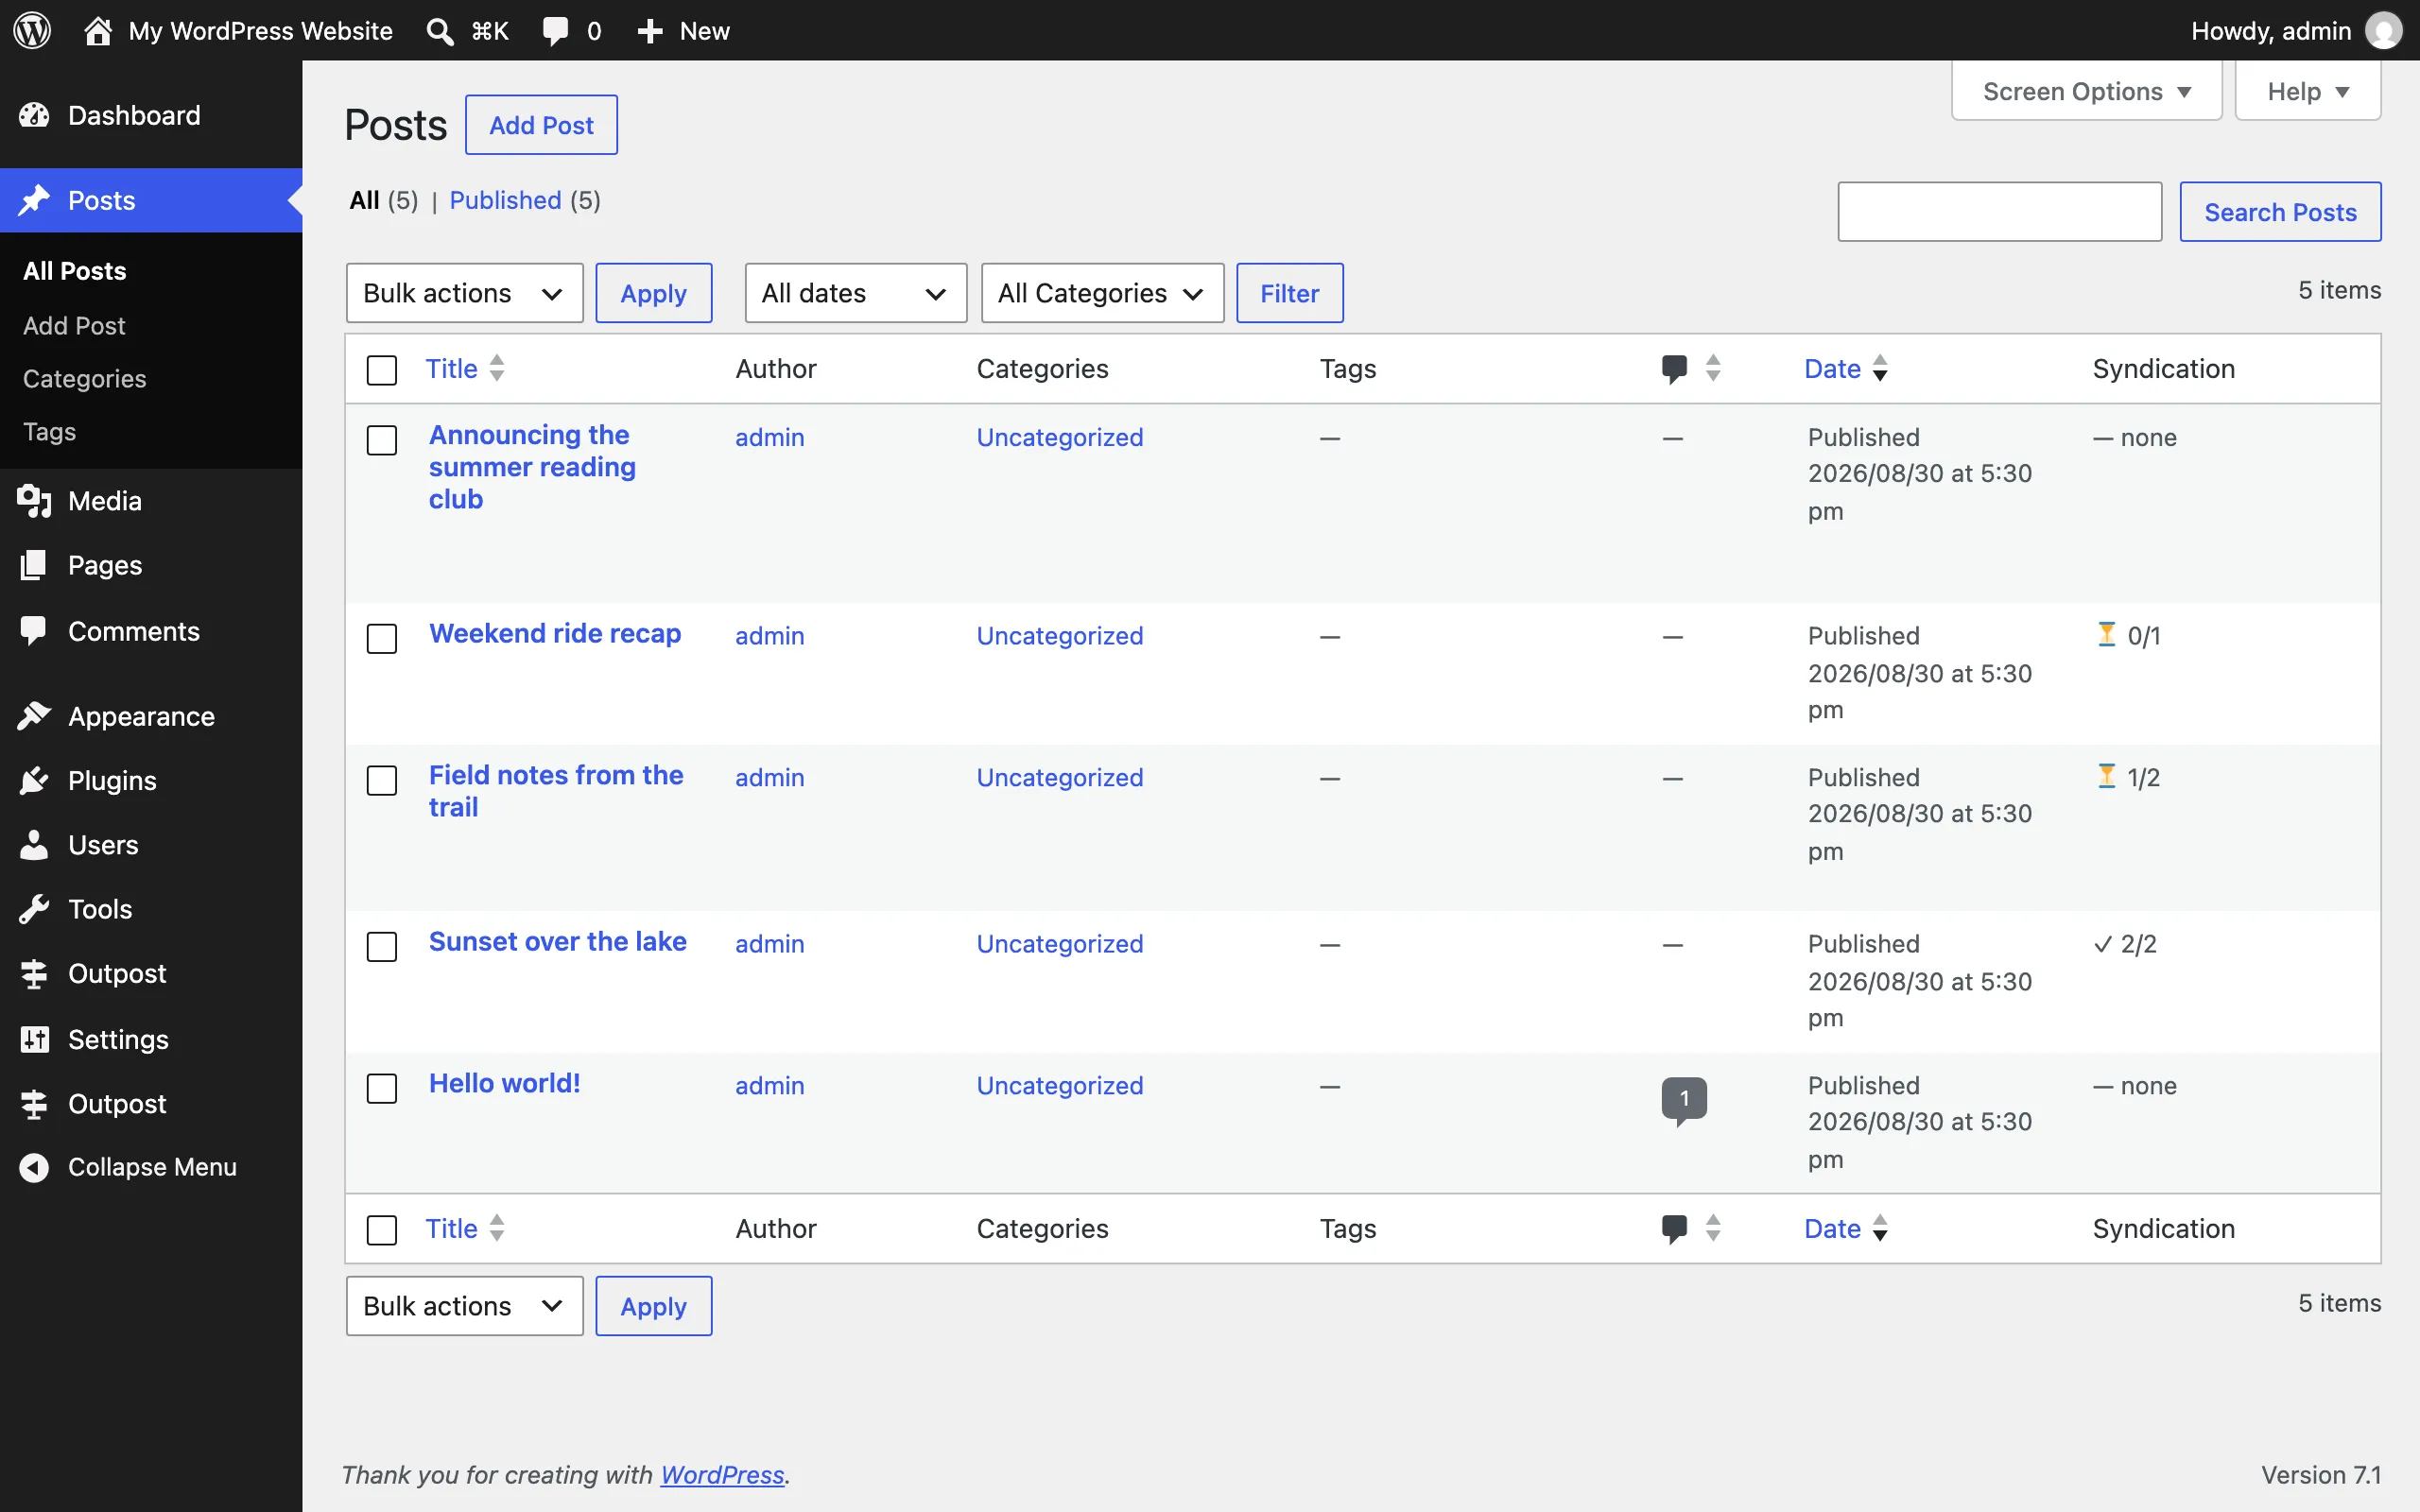
Section titled “Confirm a post syndicated”- On the post itself, syndicated copies appear as links appended to the content (“Also on …” style
u-syndicationlinks). - In wp-admin → Posts, Outpost adds a syndication status column to the post list.
Post while offline
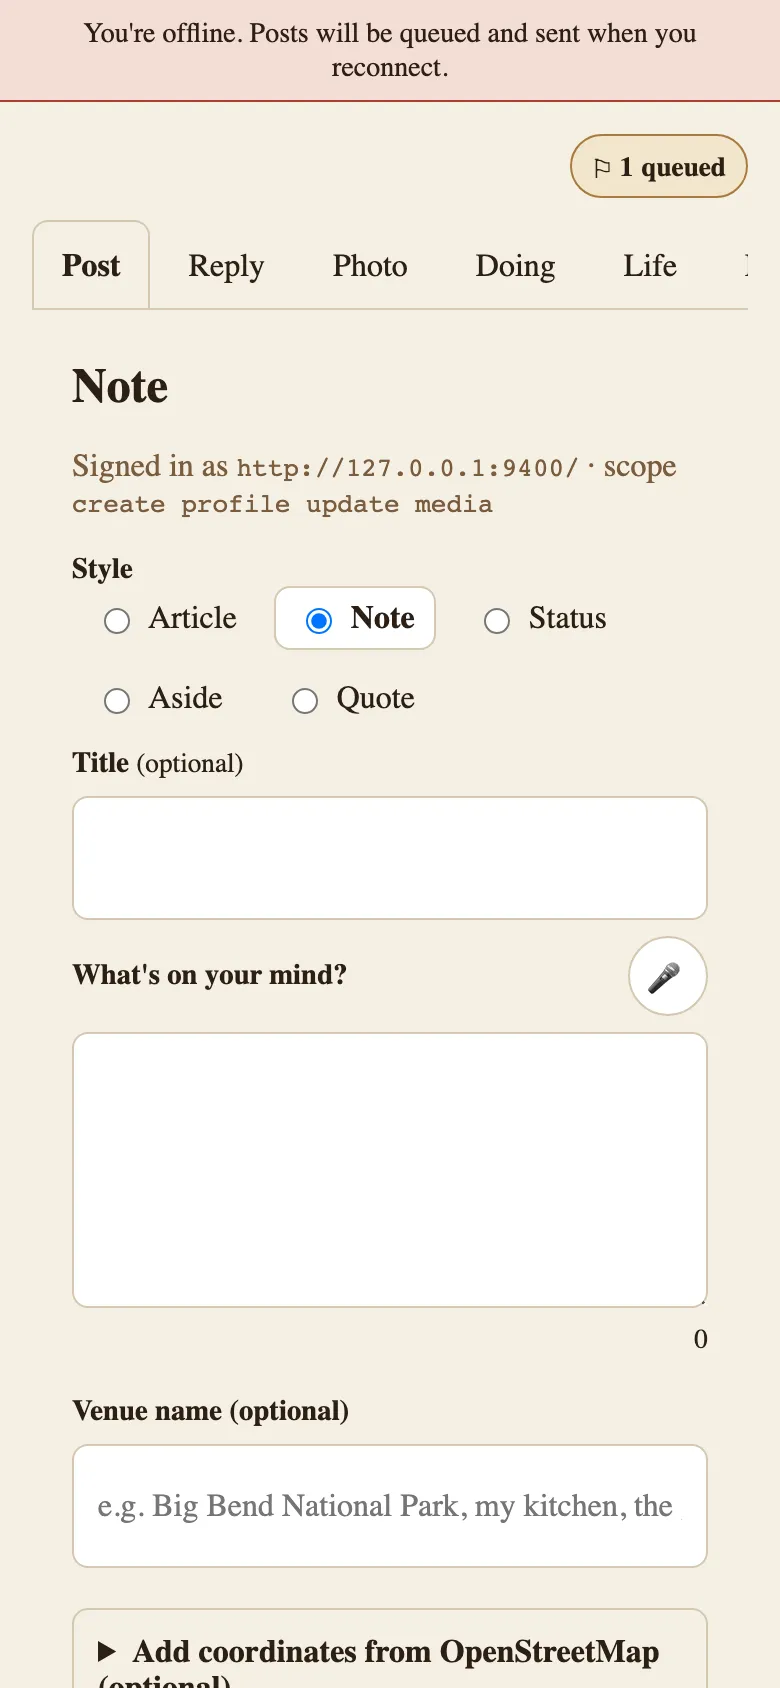
Section titled “Post while offline”Just post — if the network is down, the draft queues on your device and Outpost submits it automatically when the connection returns. The queue shows pending entries with retry and dismiss controls. Signing out doesn’t clear the queue: once you sign back in to the same site, Retry all now in the queue sends the waiting posts. A post queued for a different site, or one an older version queued with no site recorded, stays in the queue with an error you can dismiss.
Connect a life-tracking service
Section titled “Connect a life-tracking service”- Go to wp-admin → Outpost (first menu) → OAuth Connections.
- Click Connect next to the provider (Oura, WHOOP, Polar, Notion, Ride With GPS, Ravelry — as available) and approve access on the provider’s site.
- Back in WordPress, the provider shows as connected. In the block editor, the Outpost sidebar offers a “fetch recent” picker to pull recent items from connected providers into a post.
Troubleshoot a post that didn’t appear
Section titled “Troubleshoot a post that didn’t appear”See Troubleshooting — start with “The composer said it posted, but there’s no post.”